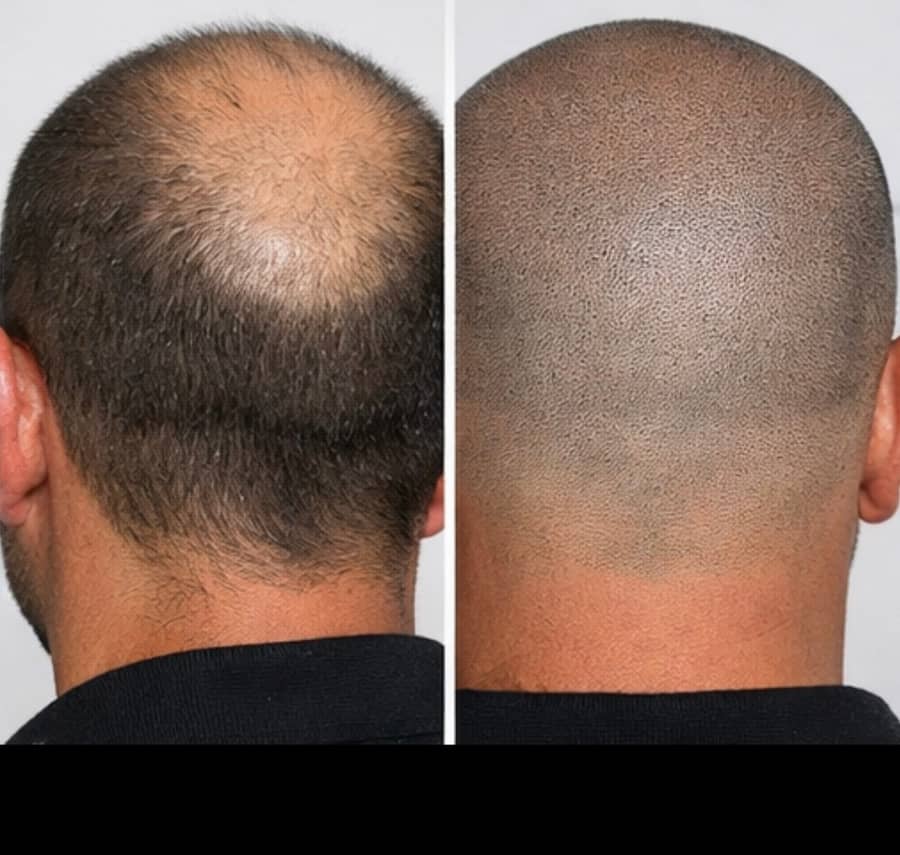
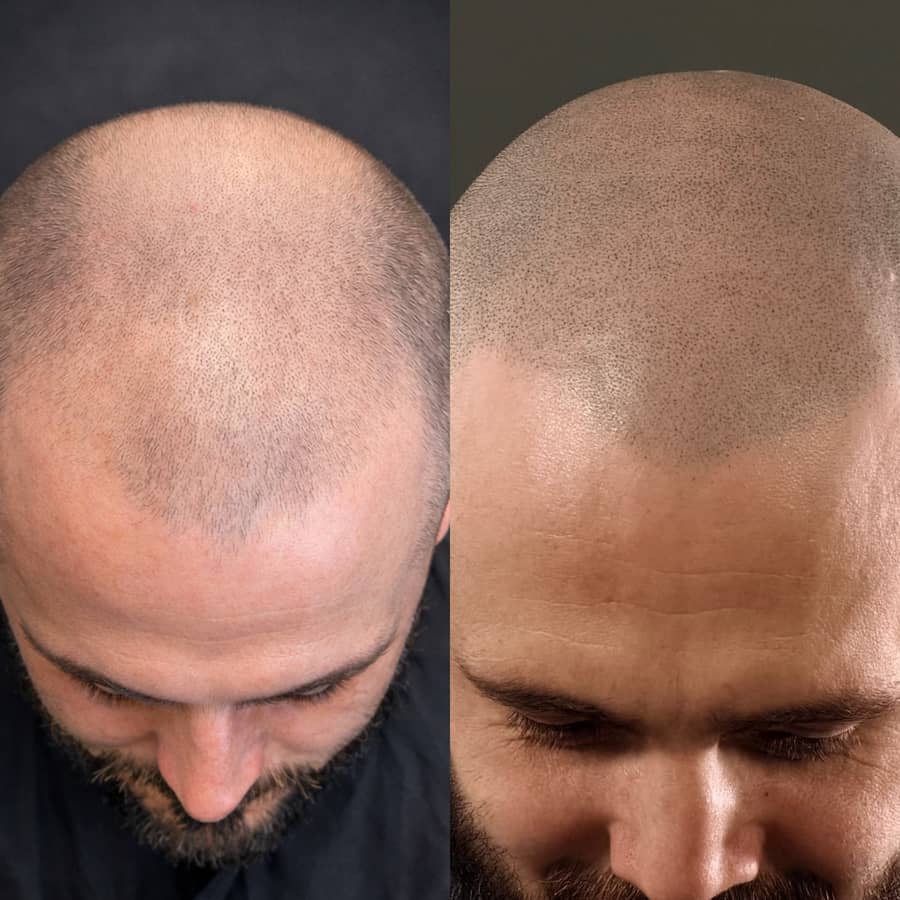
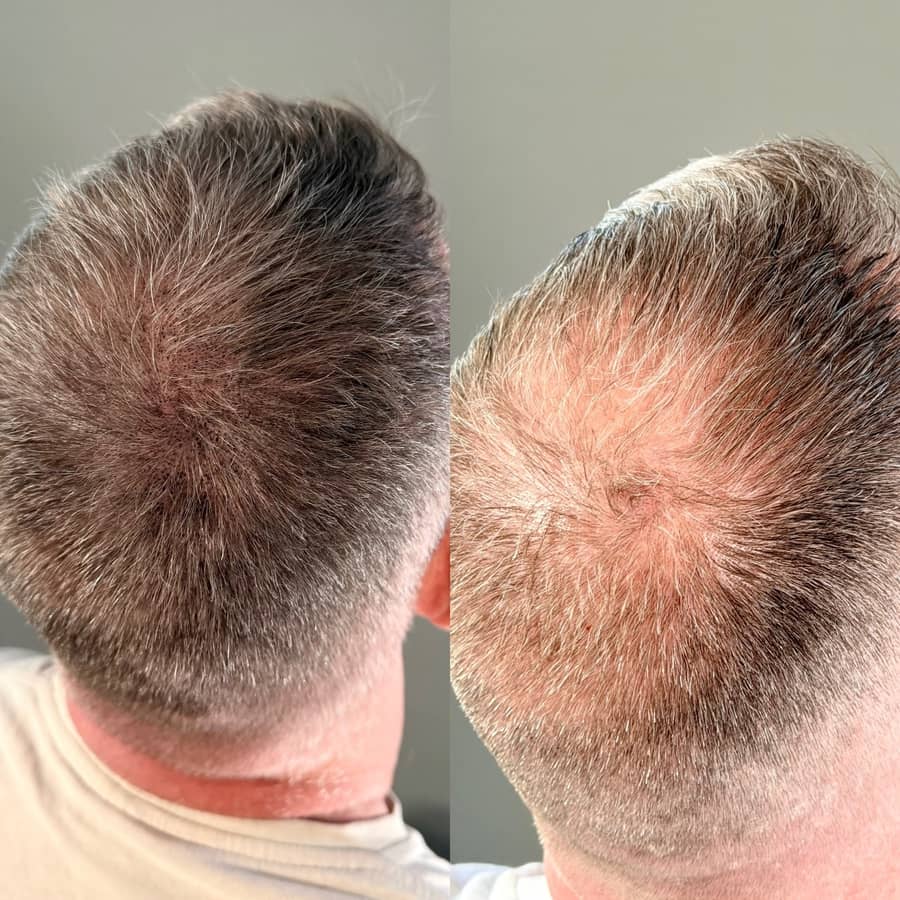
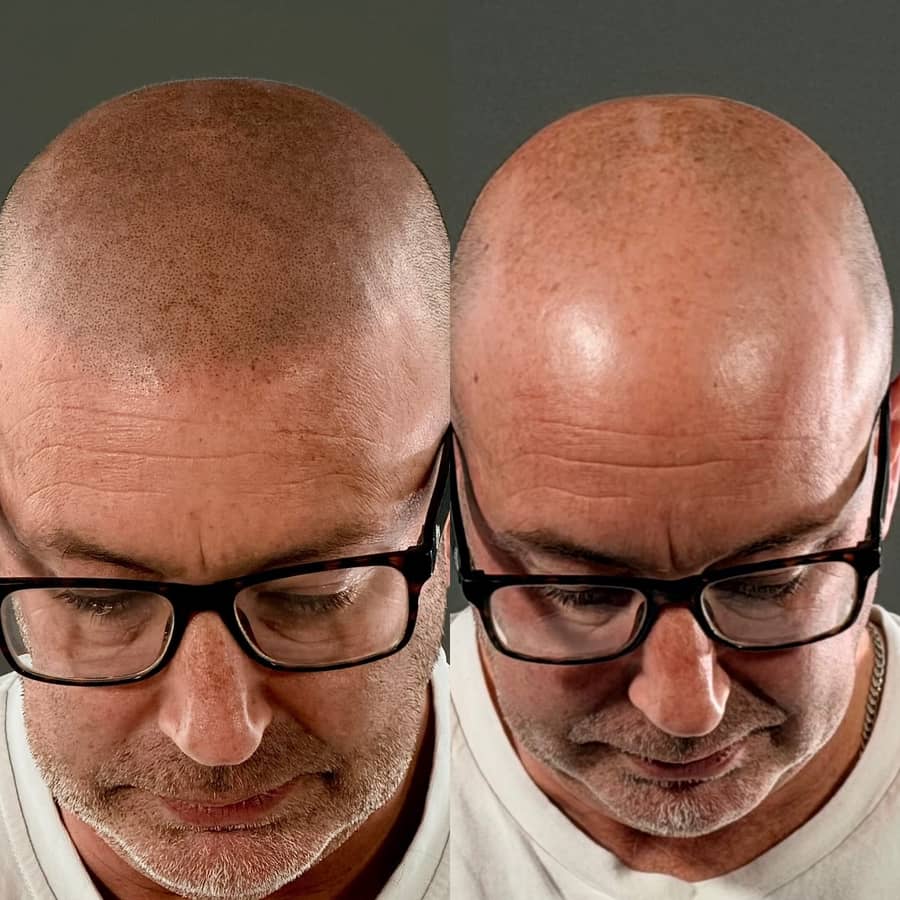
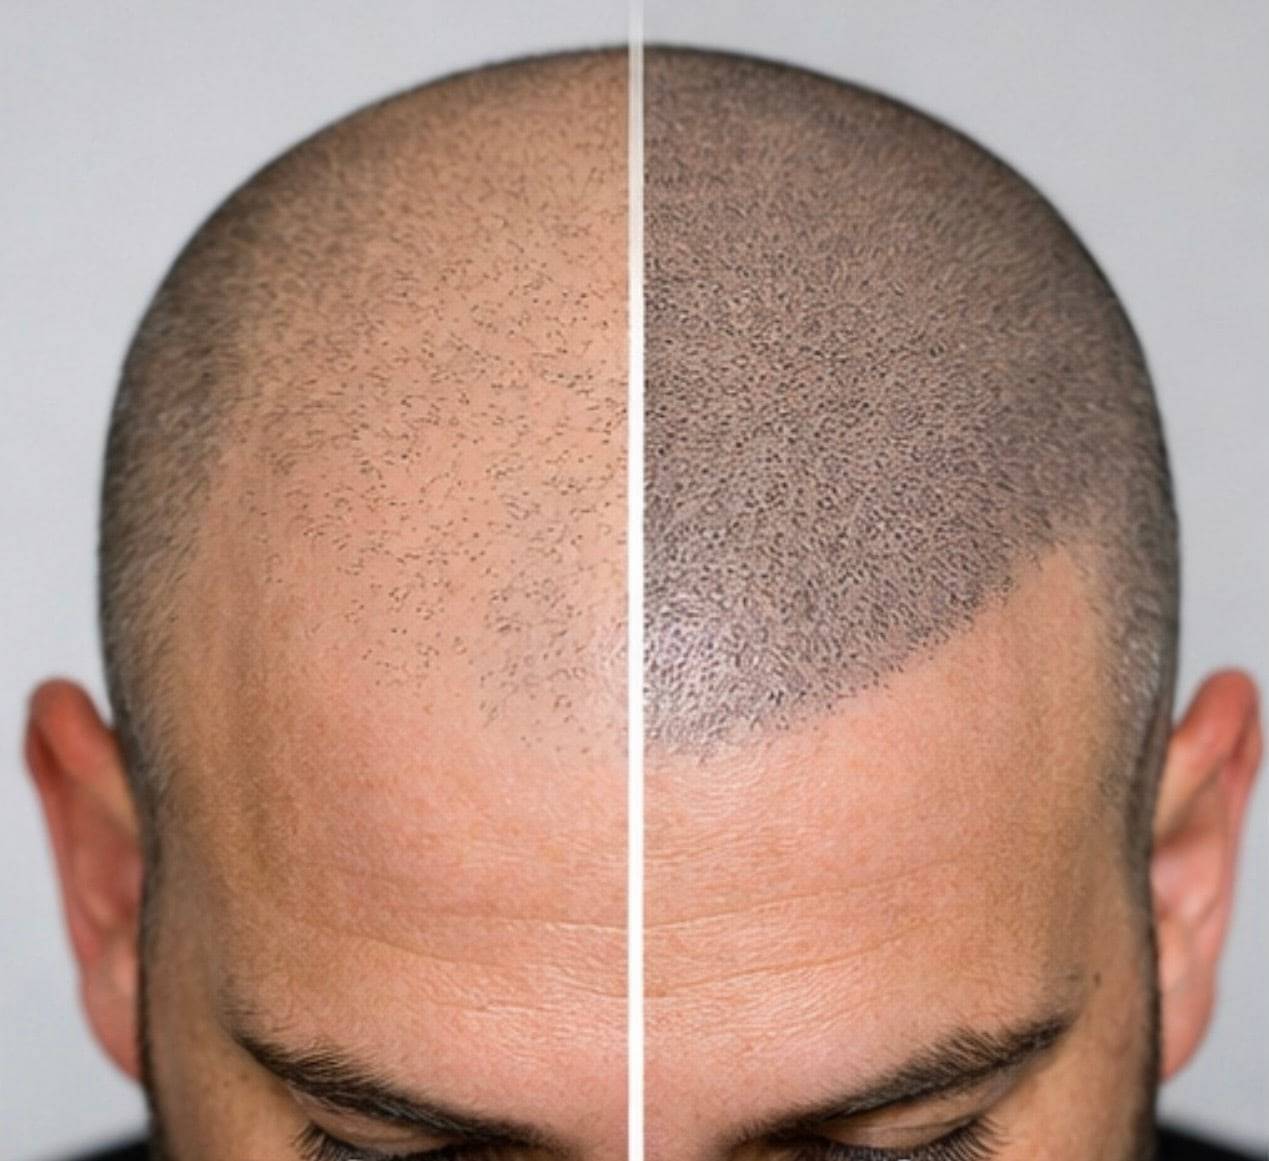
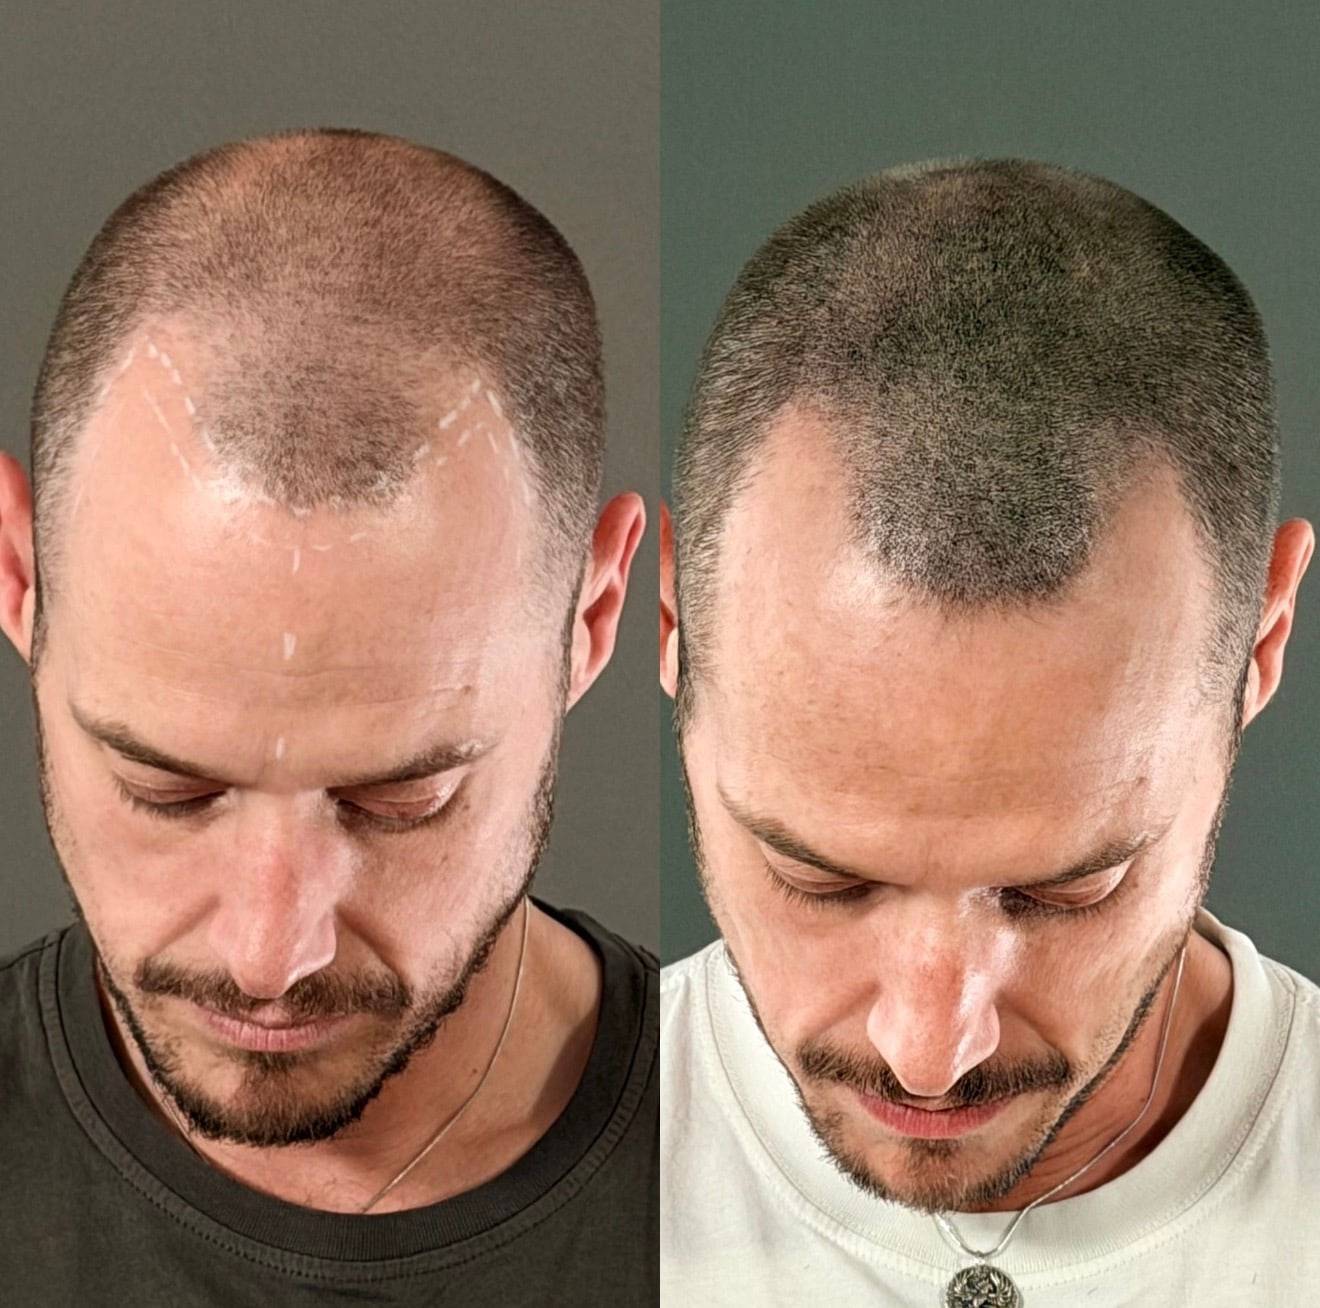
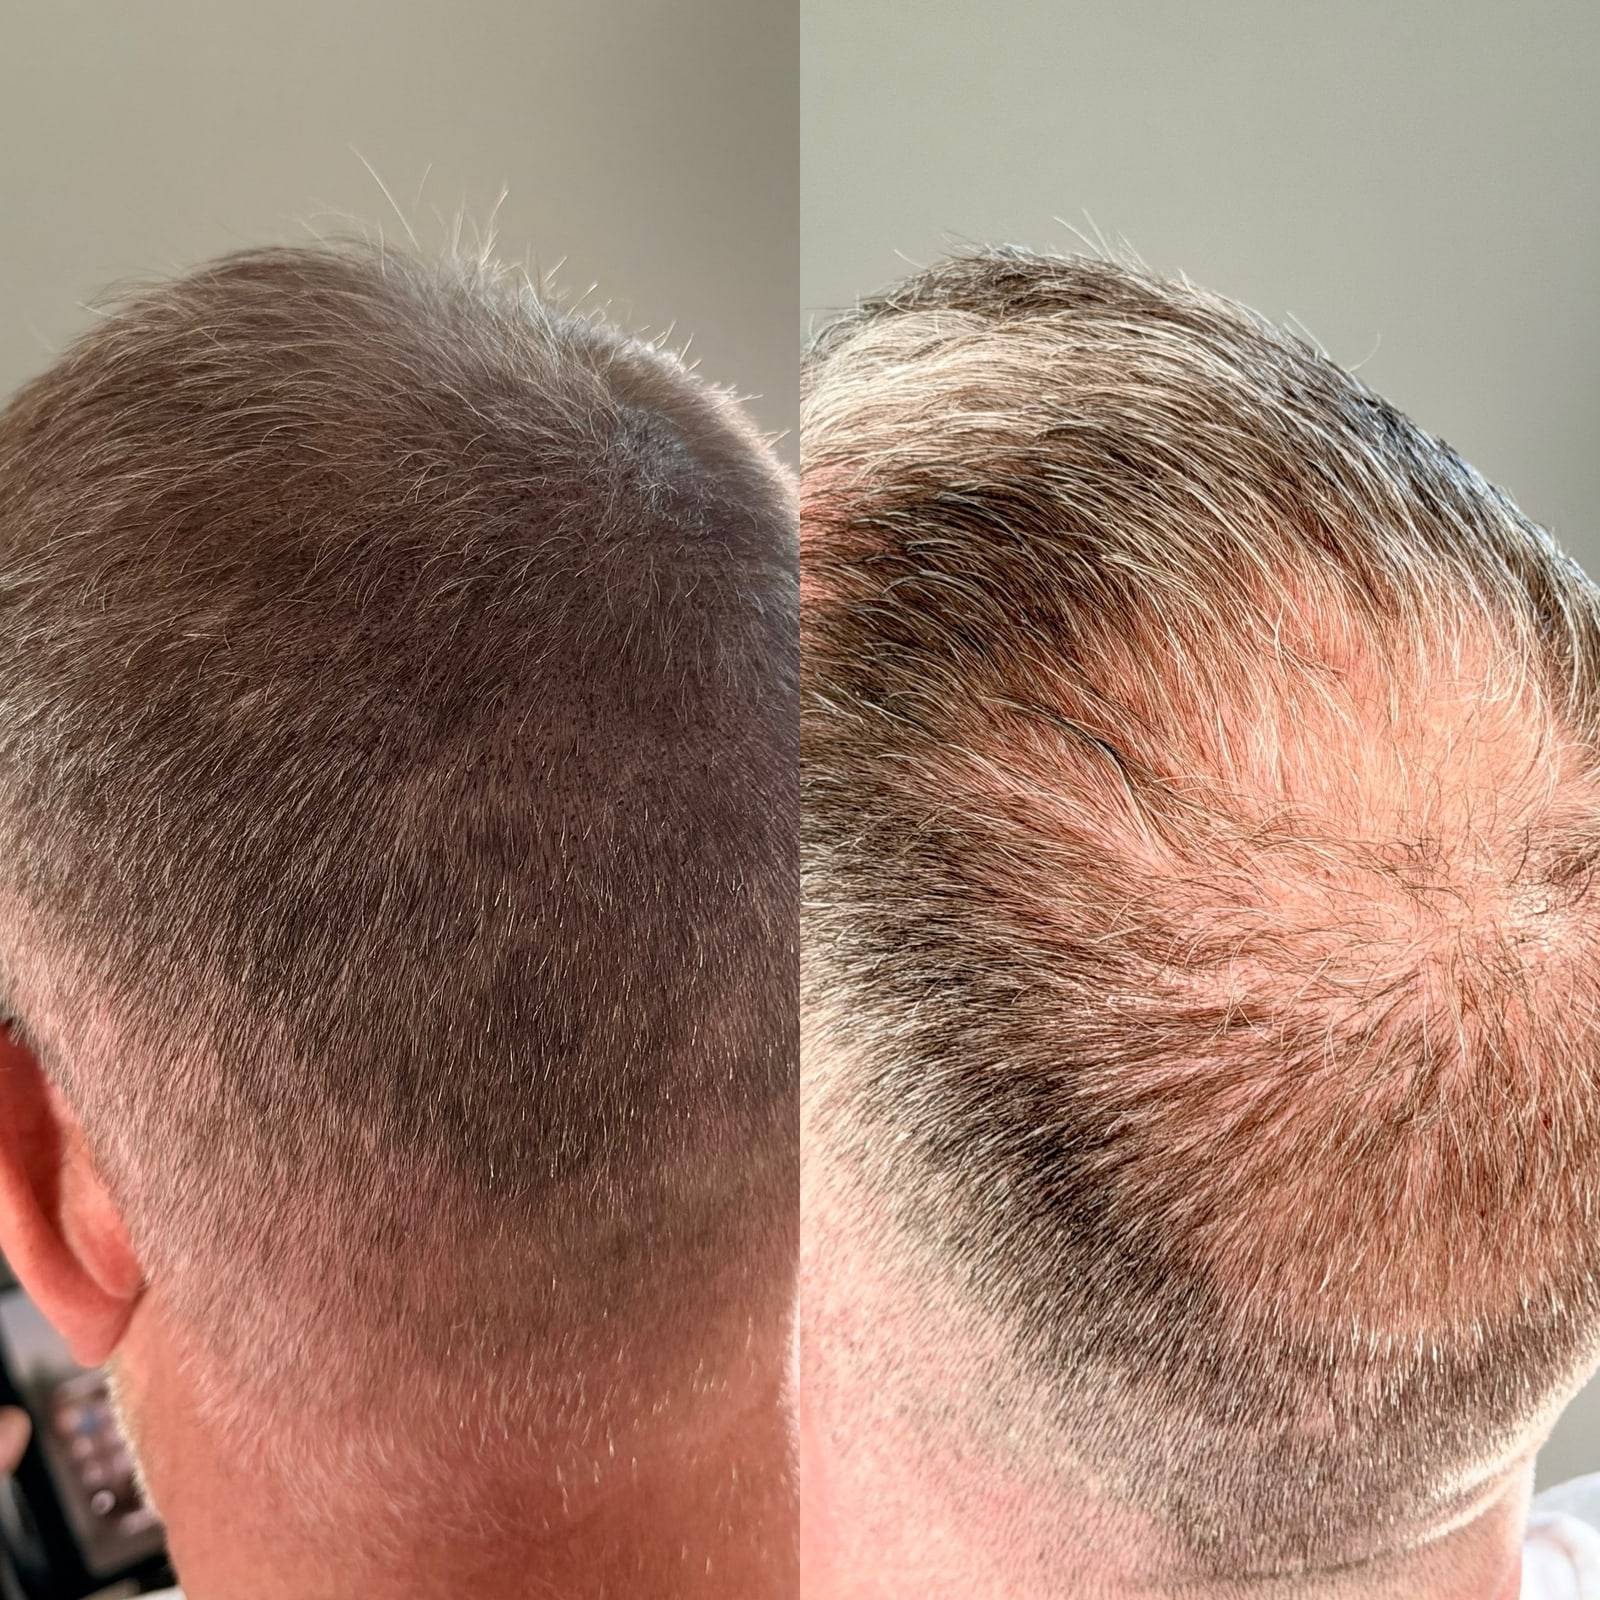
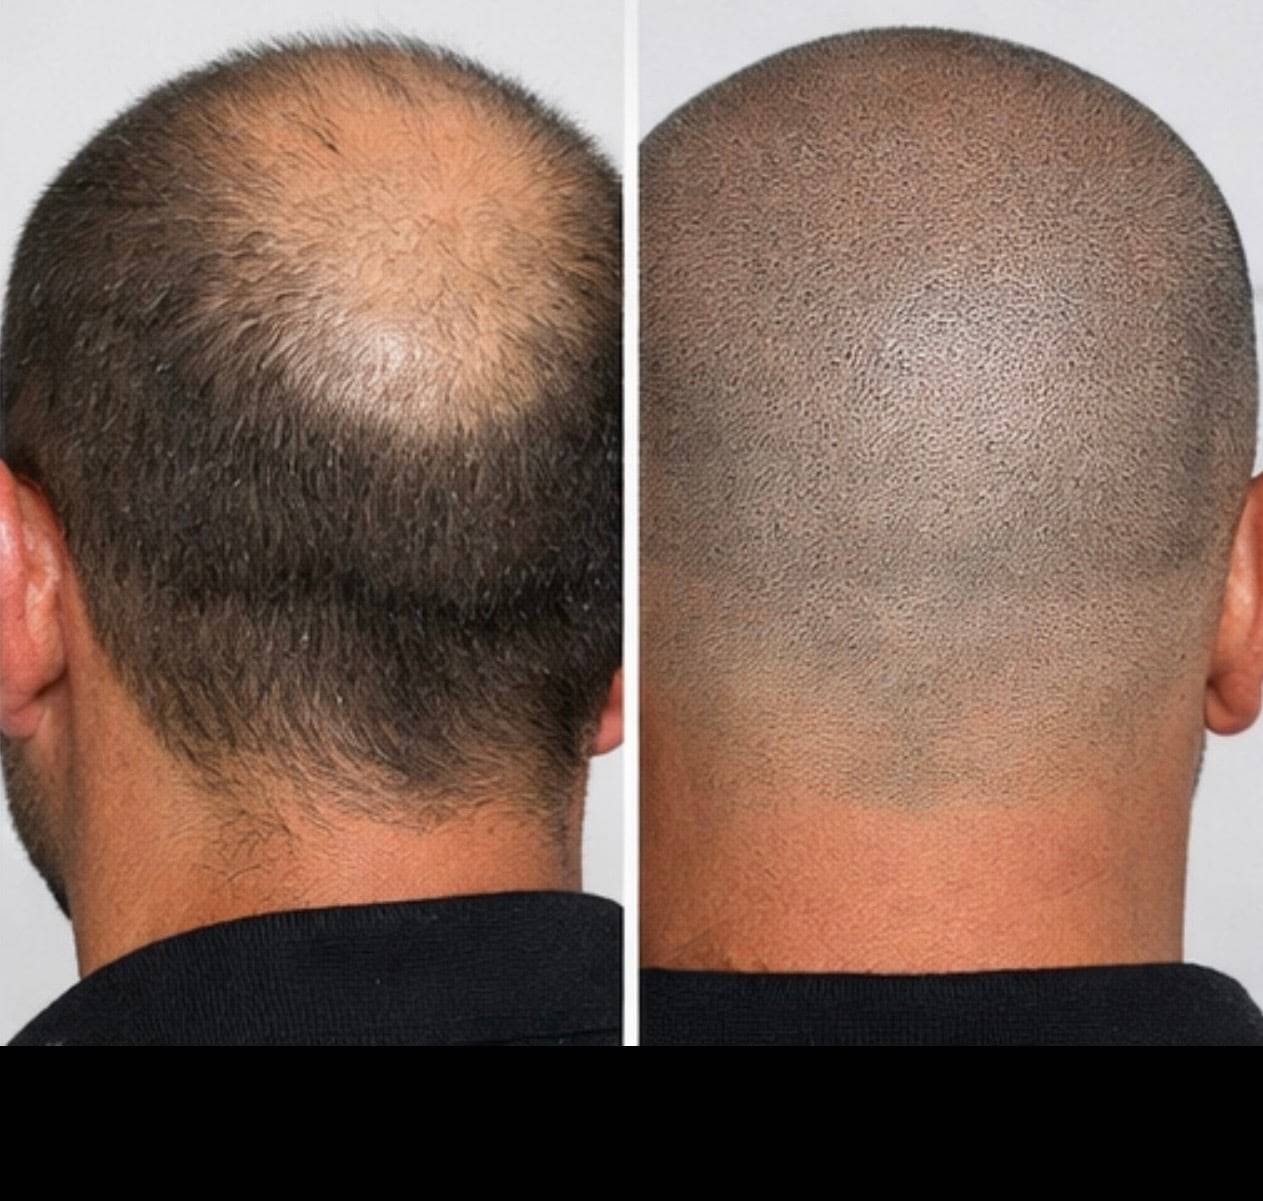
Real before-and-after scalp micropigmentation work from the studio - hairline, density and crown work, carried out in person. Tap any photo to see it close up.
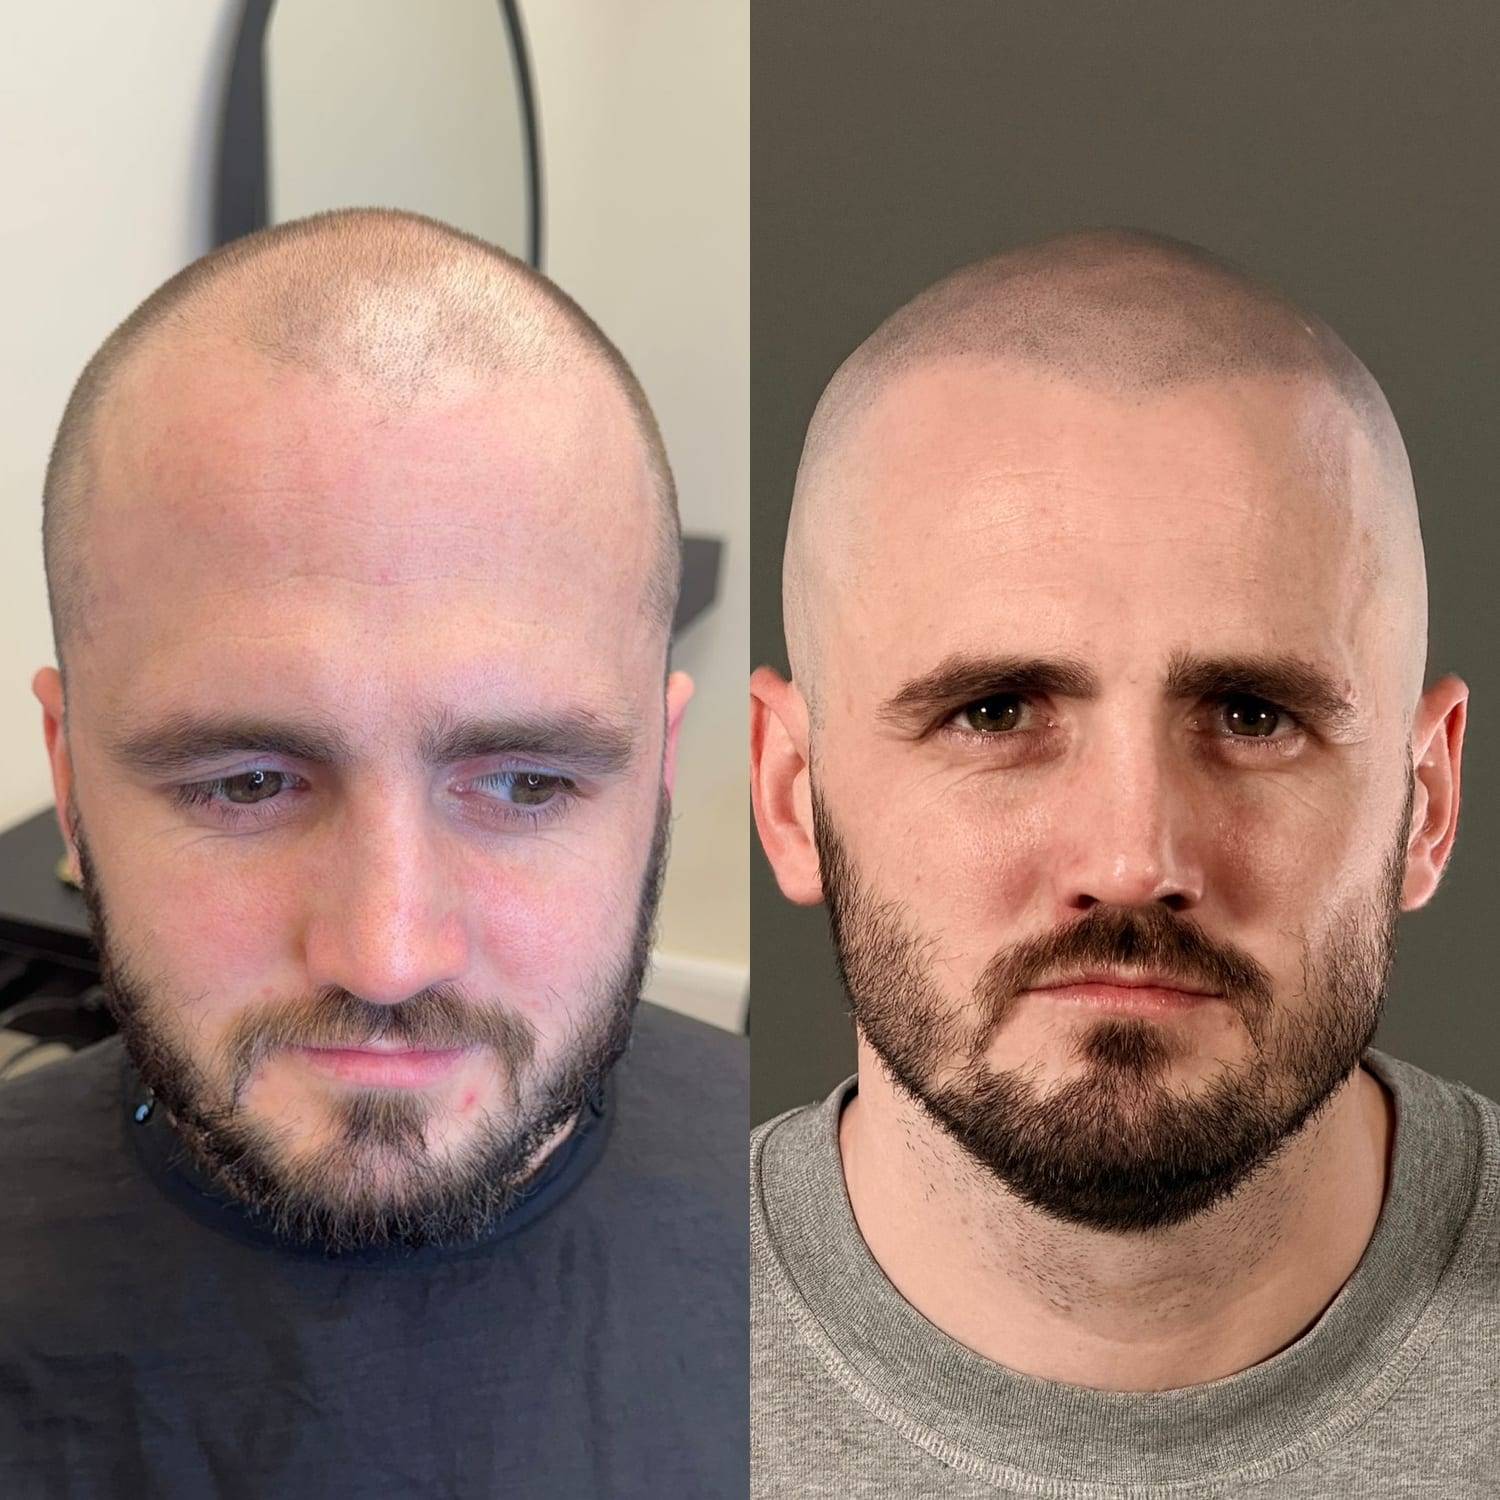
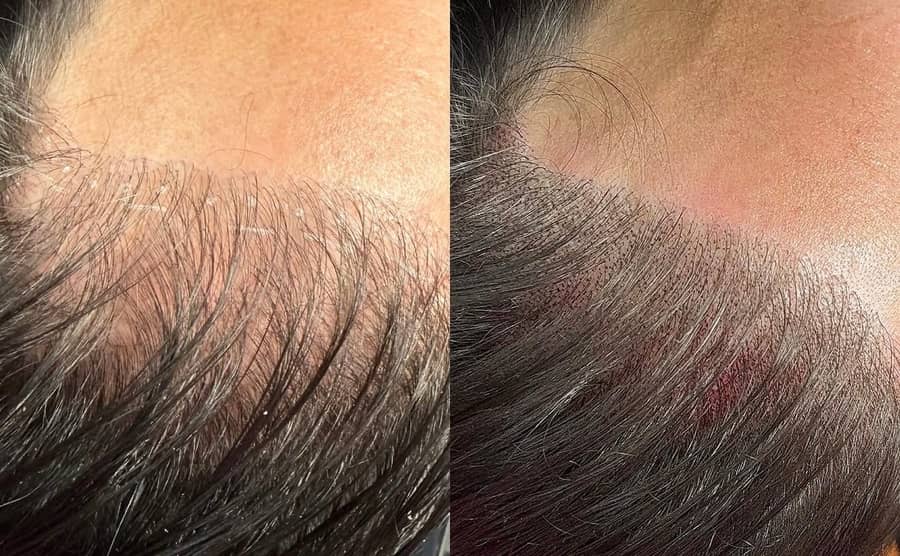
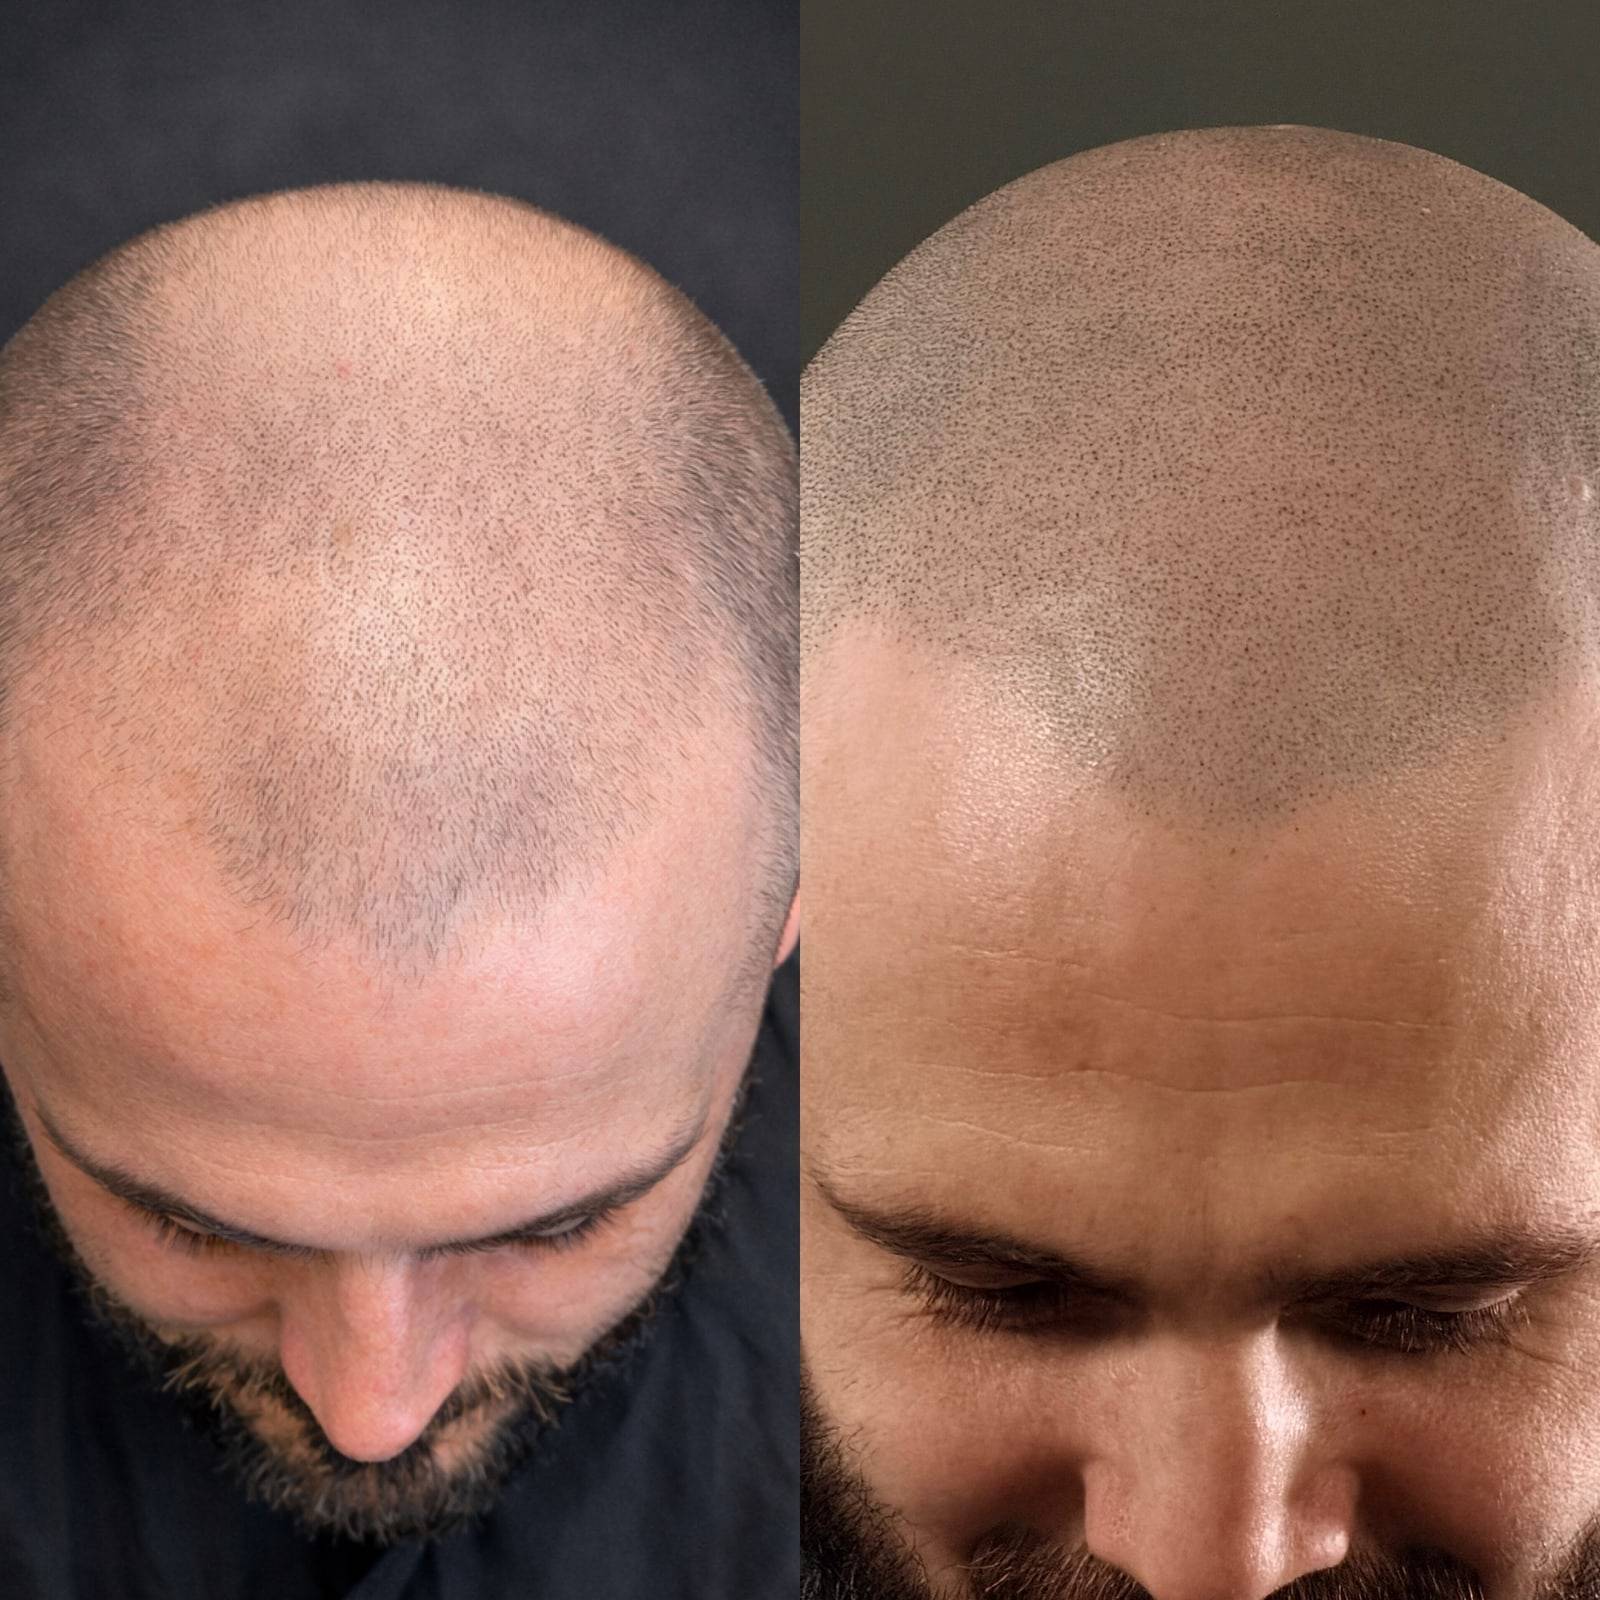
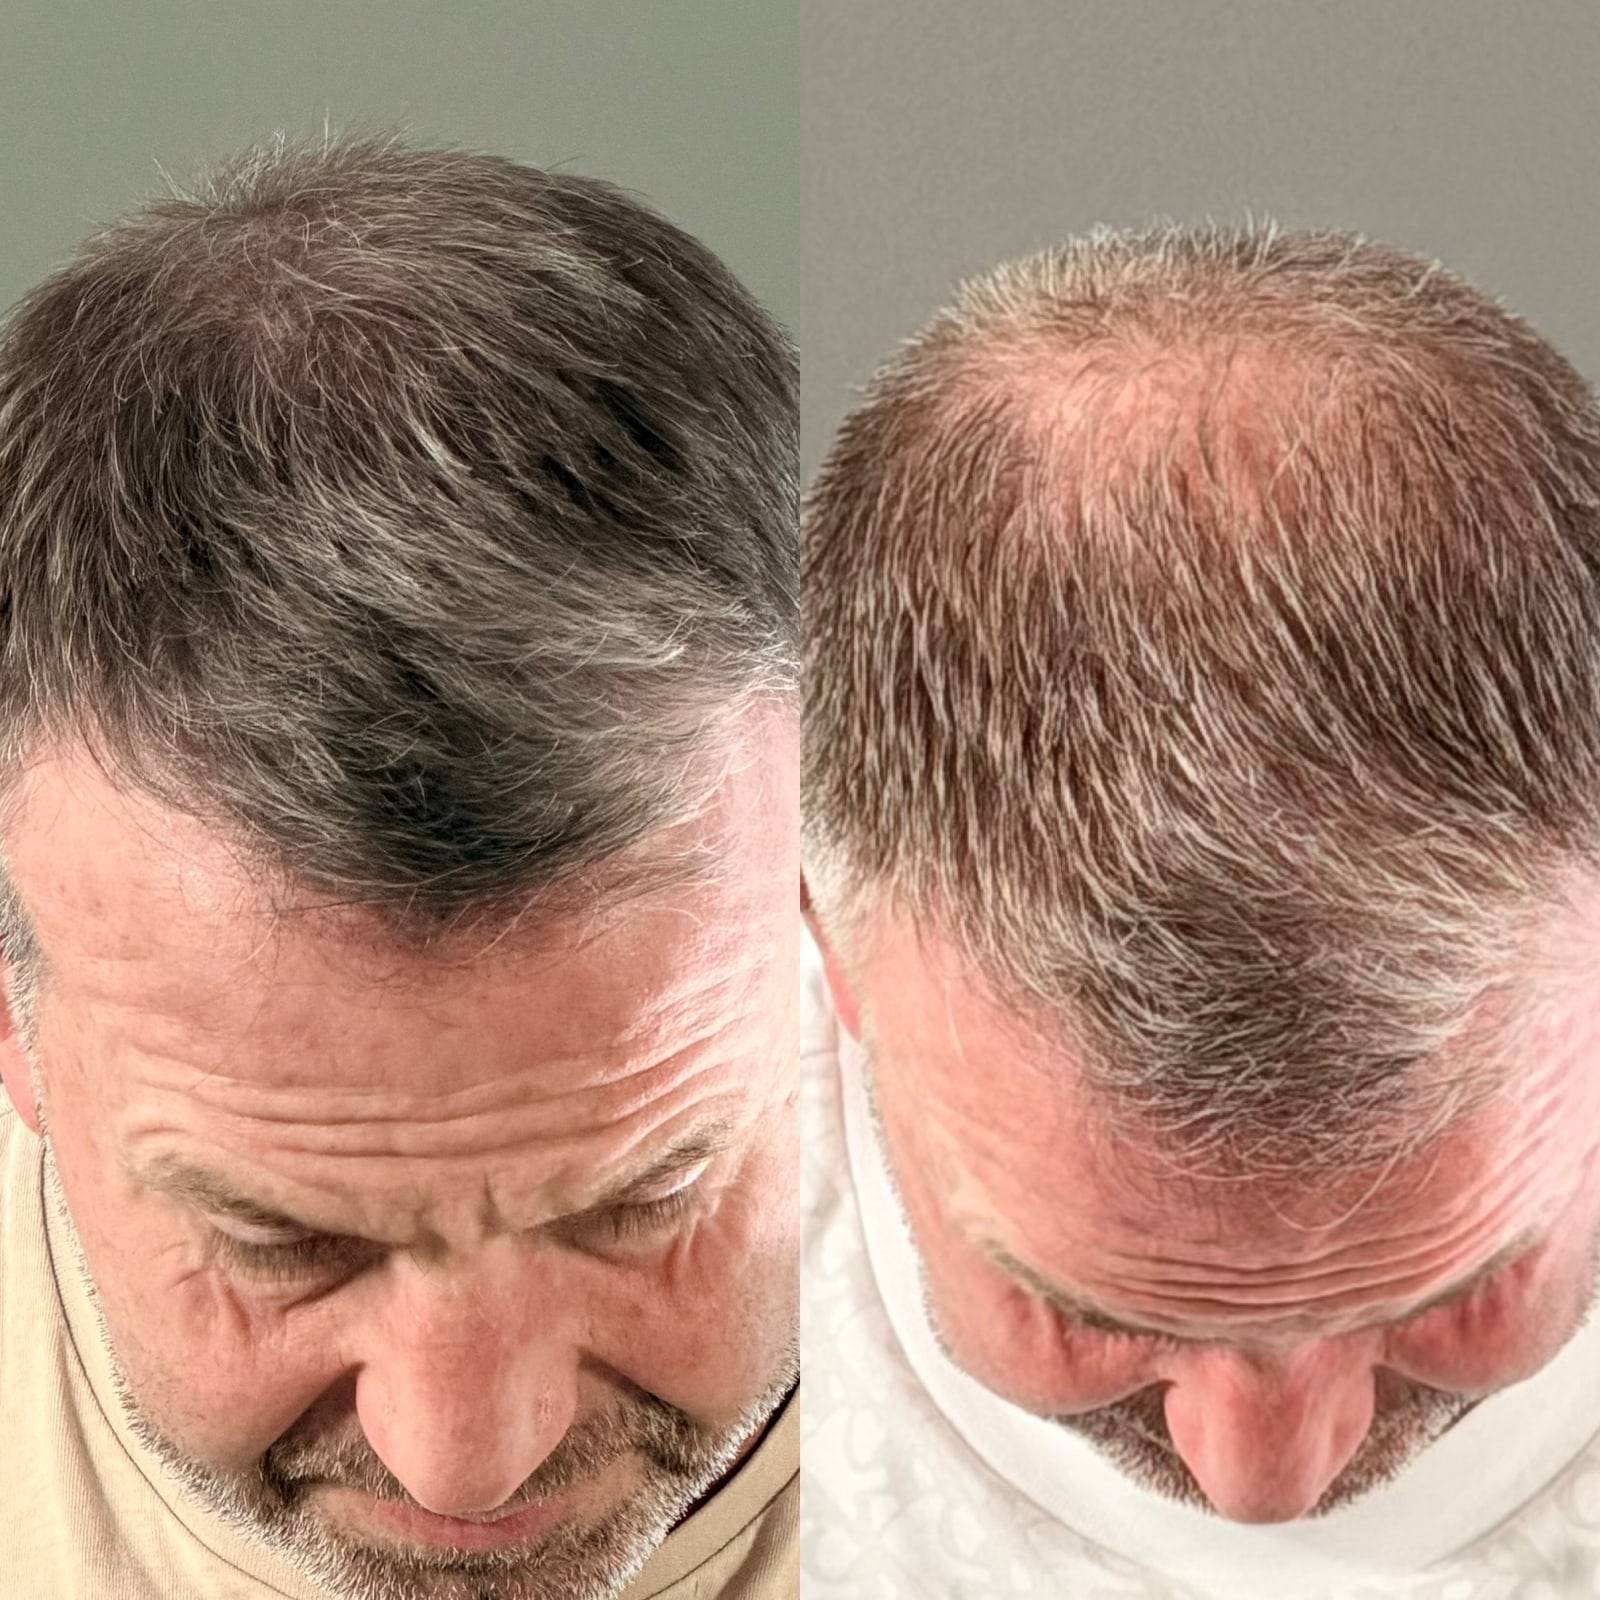
Before → AfterA receding hairline reframed - pigment recreates the look of a lower, fuller hairline and a denser-looking front, on a male client.
More before & after results
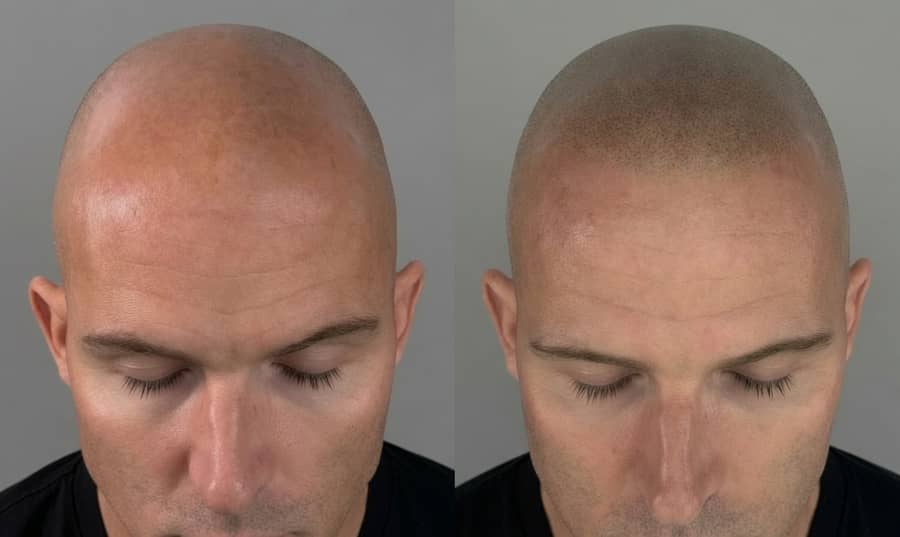
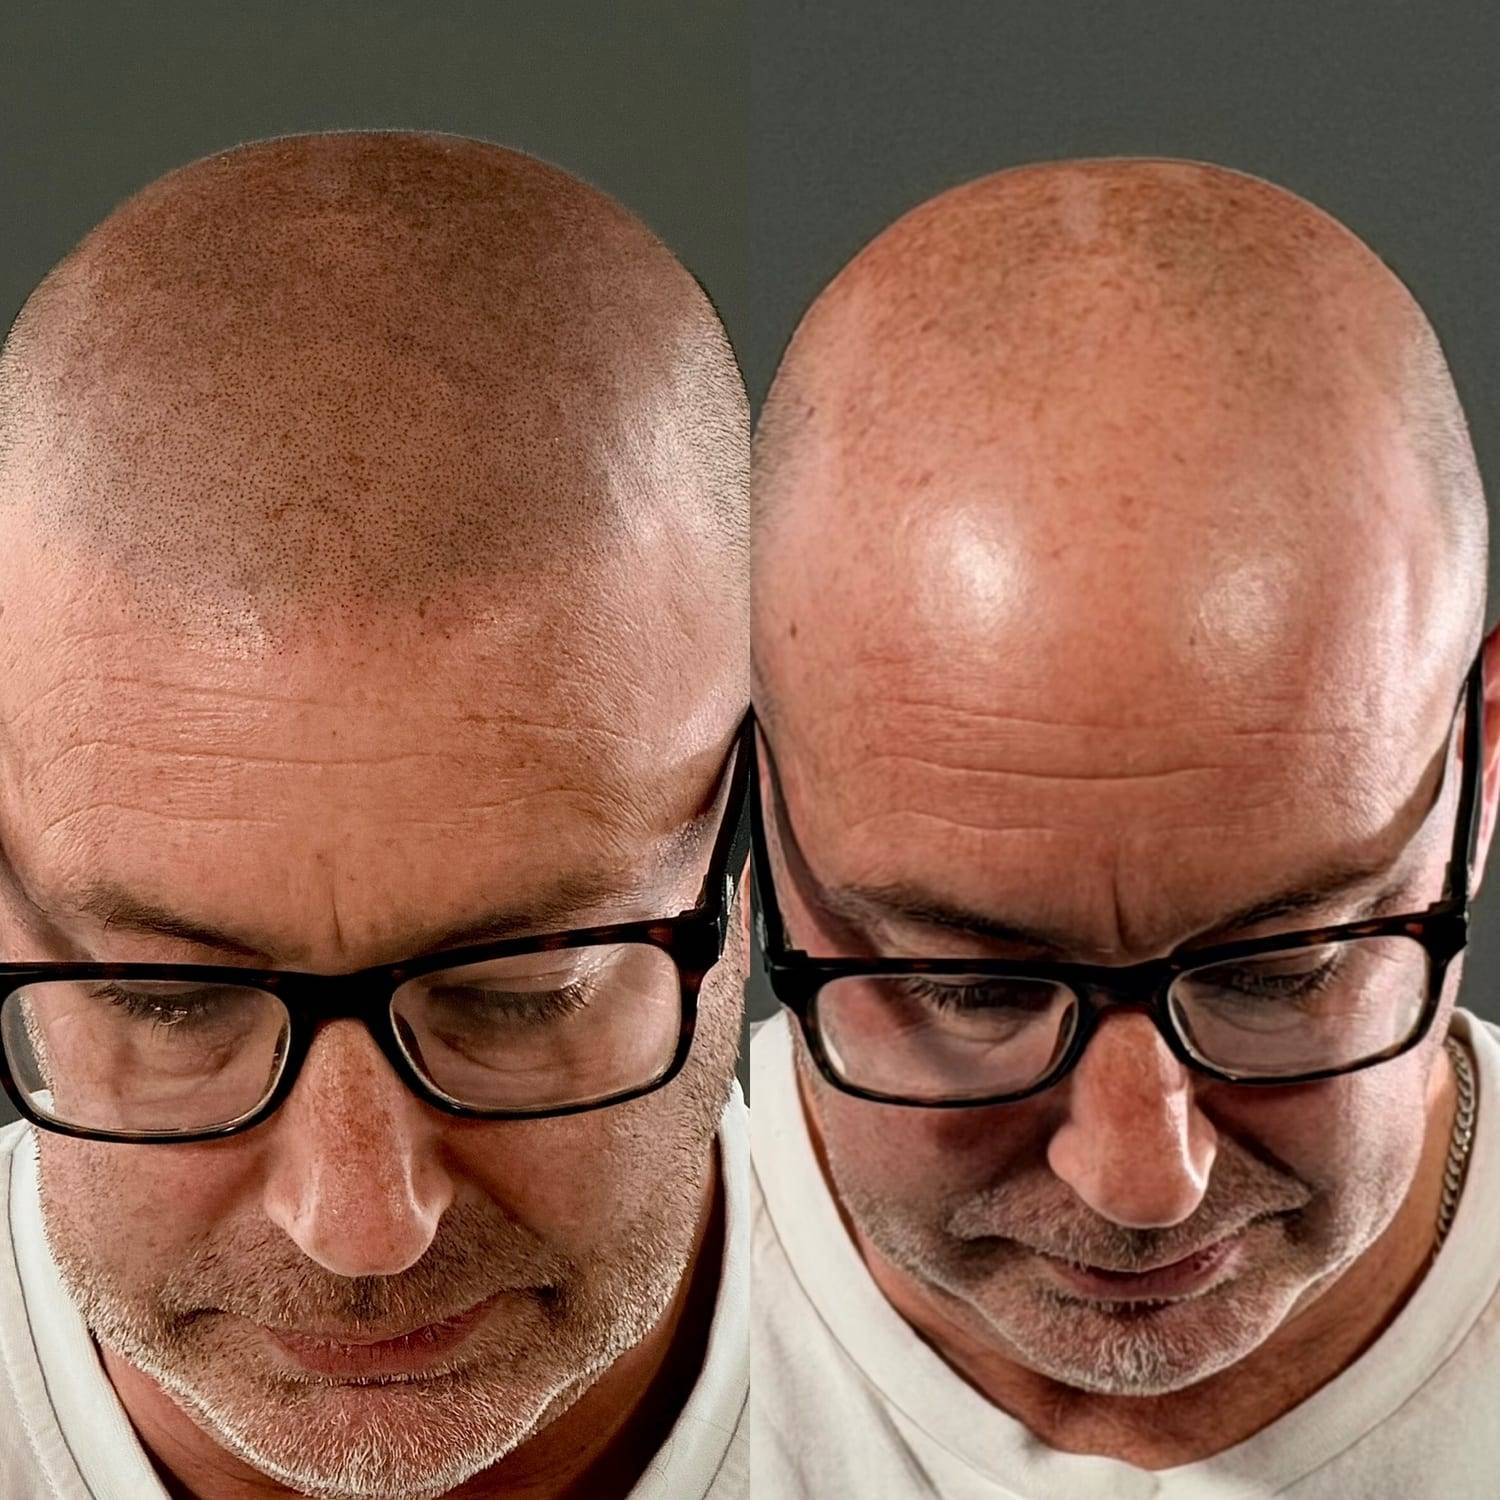
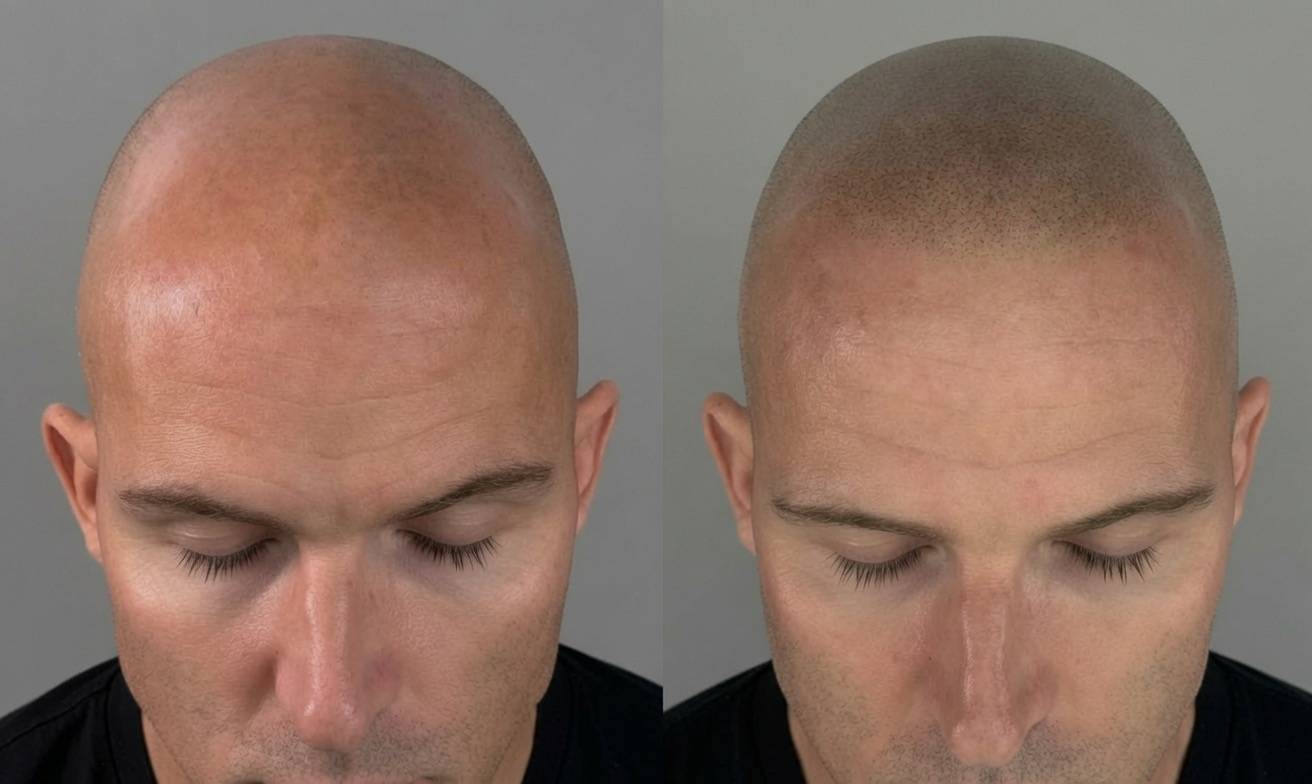
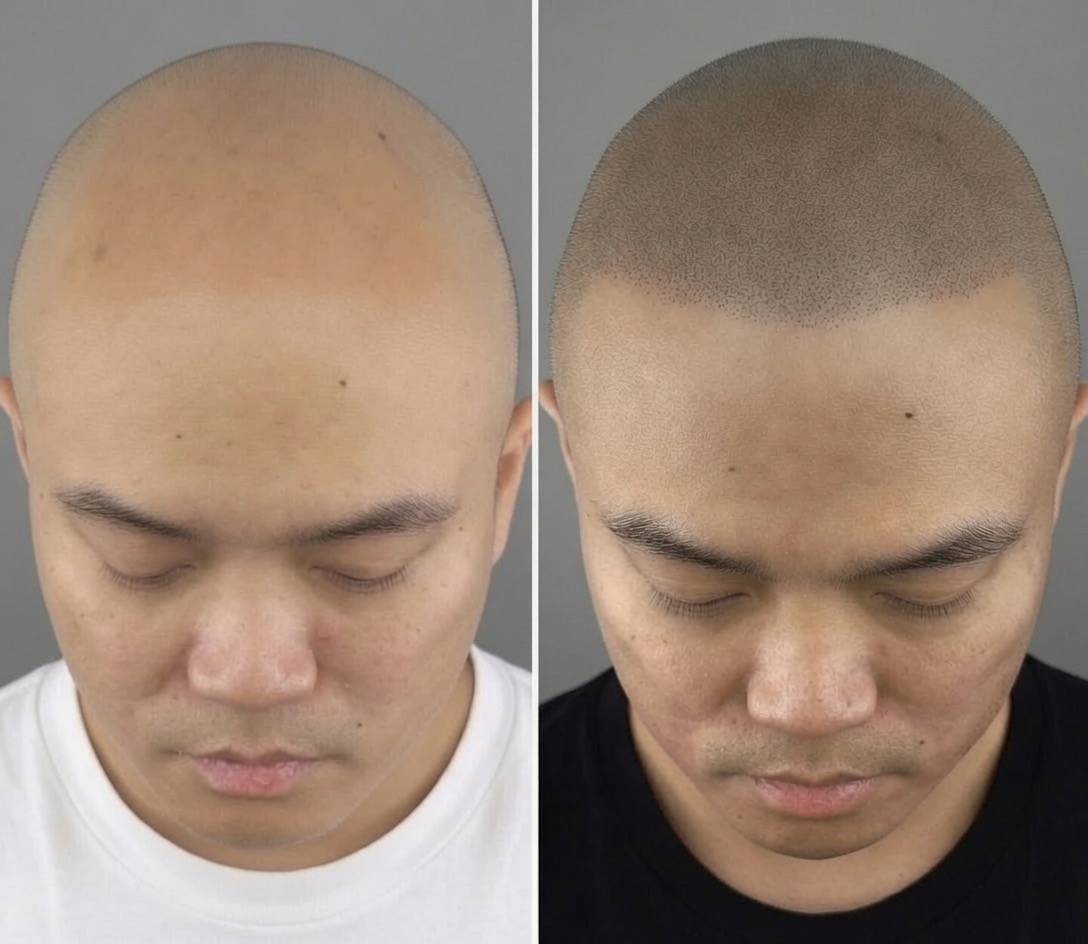
Before → AfterFull-scalp restoration: even shading and a defined hairline across a bald scalp, on a male client.
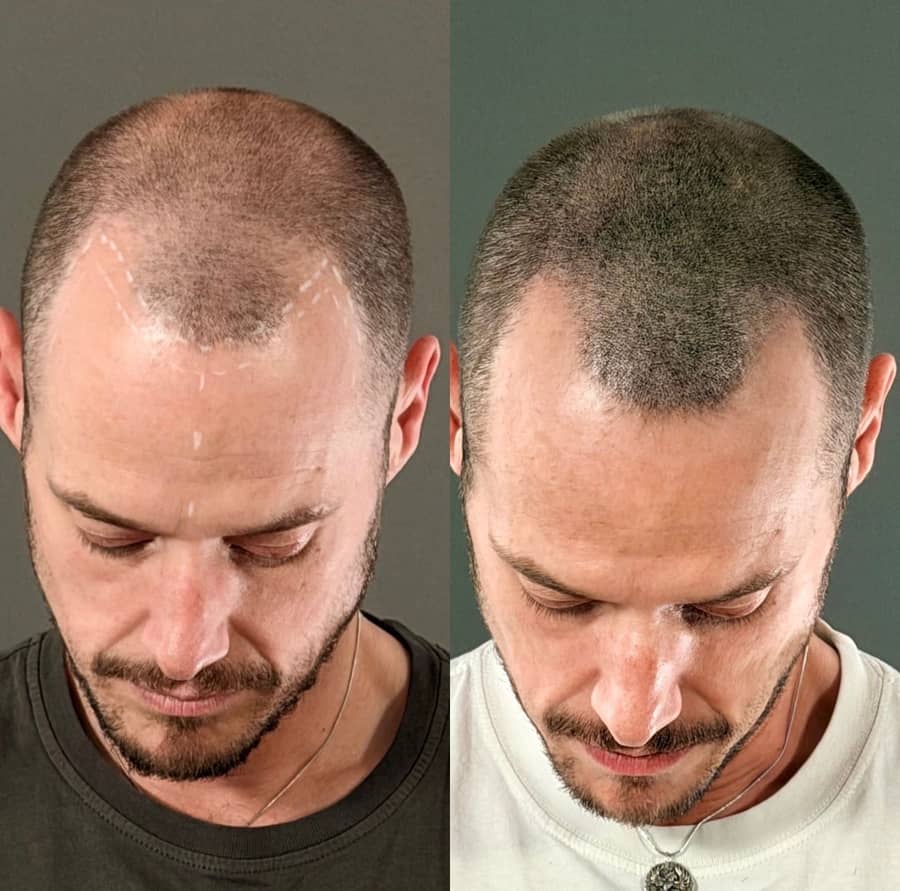
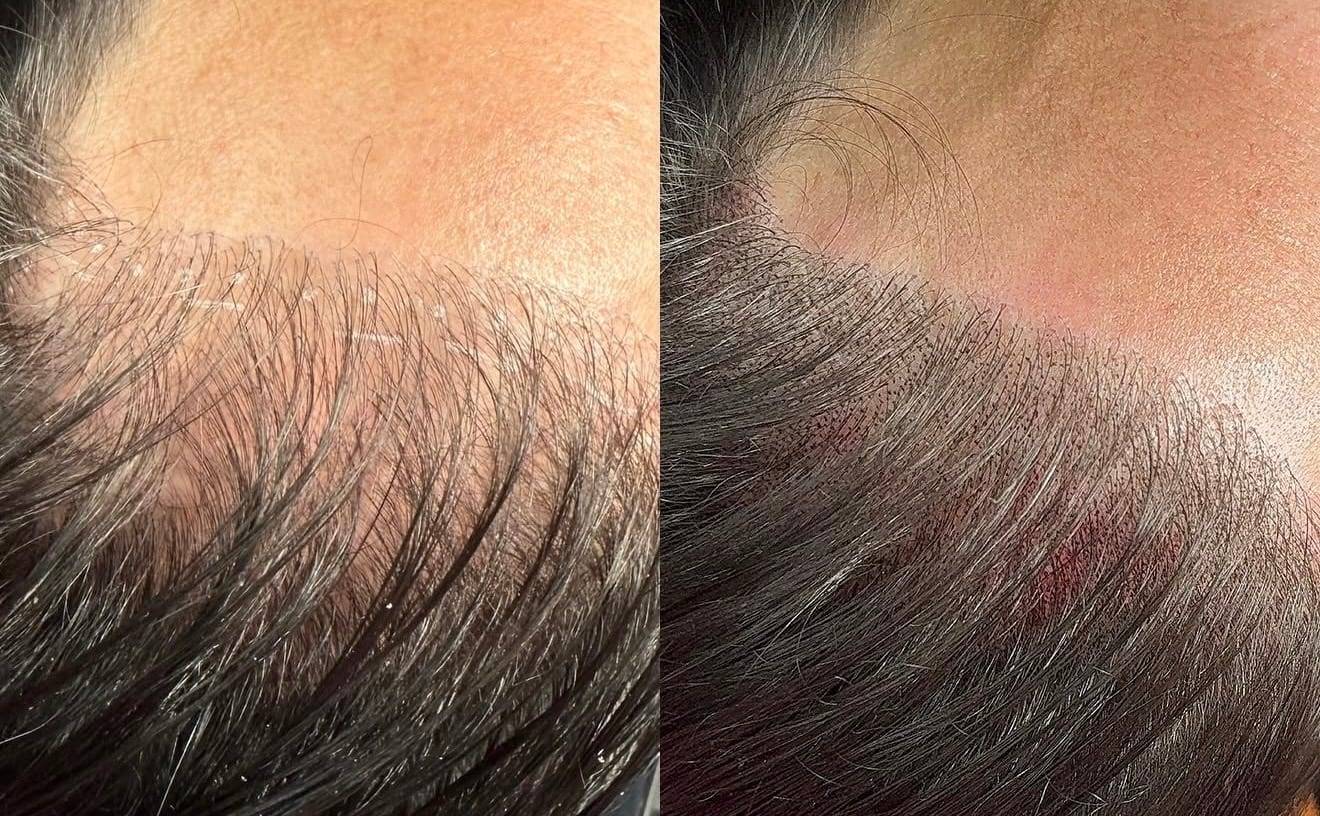
Before → AfterFrontal hairline: pigment fills the front and temples so a thinning hairline reads fuller and more defined, on a male client.
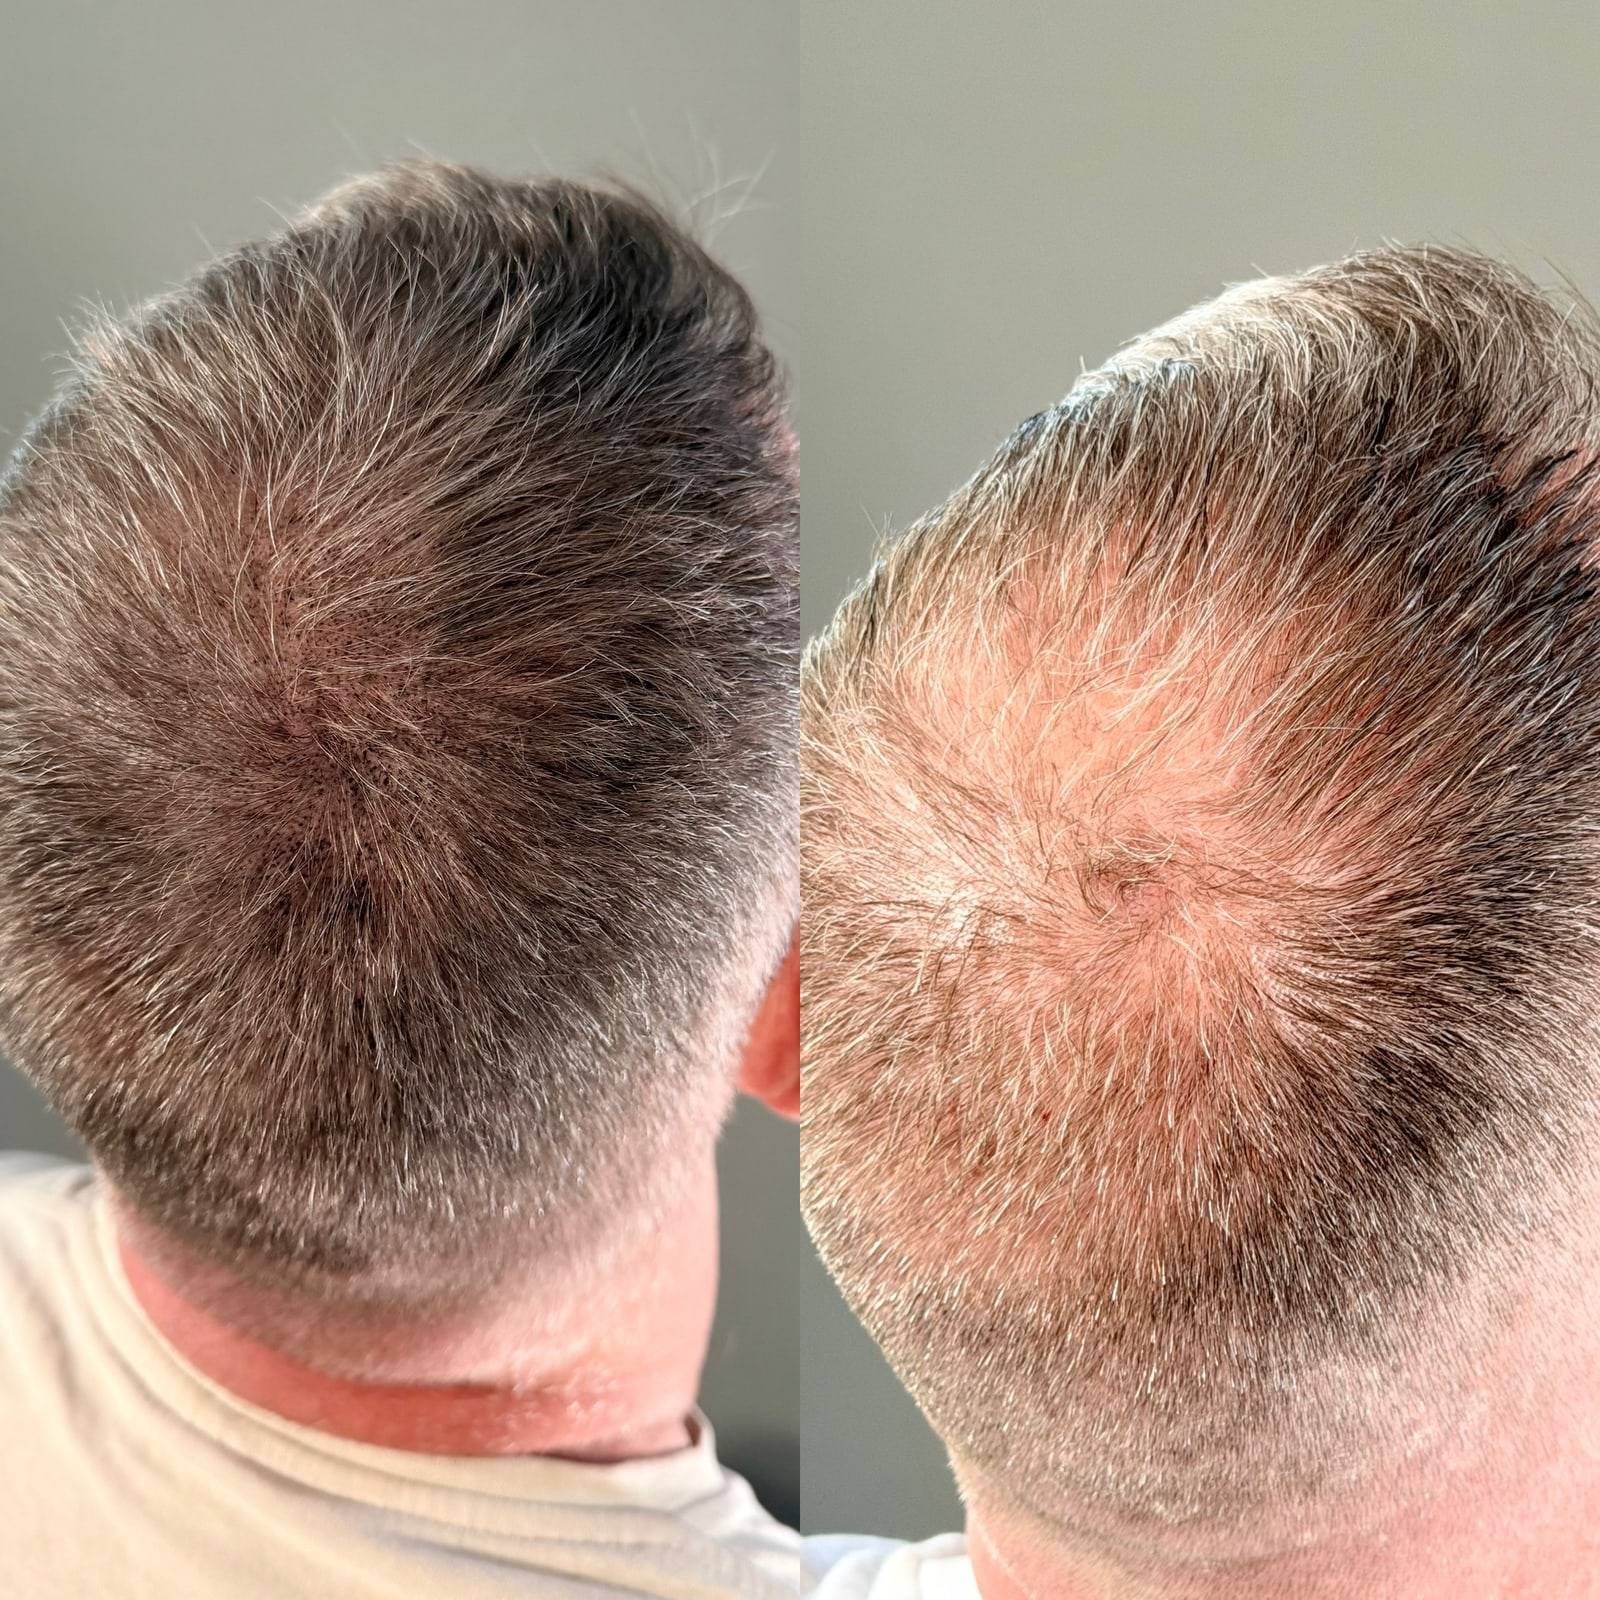
Before → AfterCrown and mid-scalp: shading reduces the contrast between hair and scalp so a thinning crown looks denser, on a male client.
Before → AfterCrown coverage: even shading rebuilds the appearance of density across a thinning crown, on a male client.
Before → AfterDensity across the top: shading makes a thinning top and hairline read as fuller and more even, on a male client.
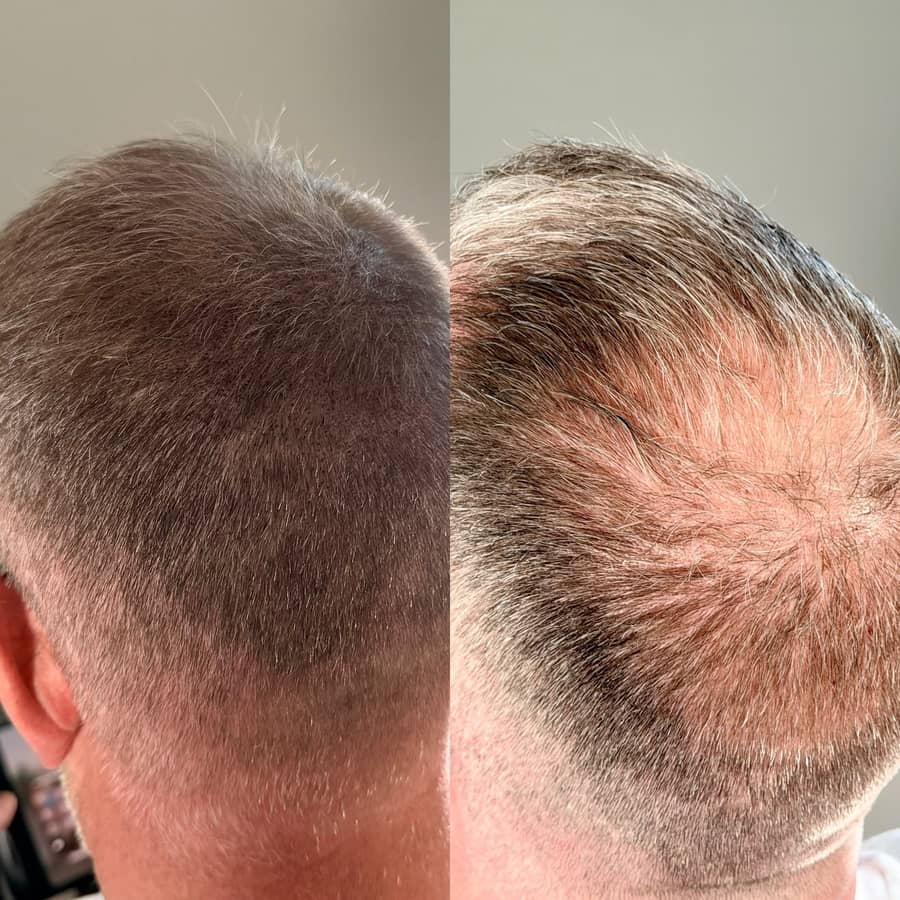
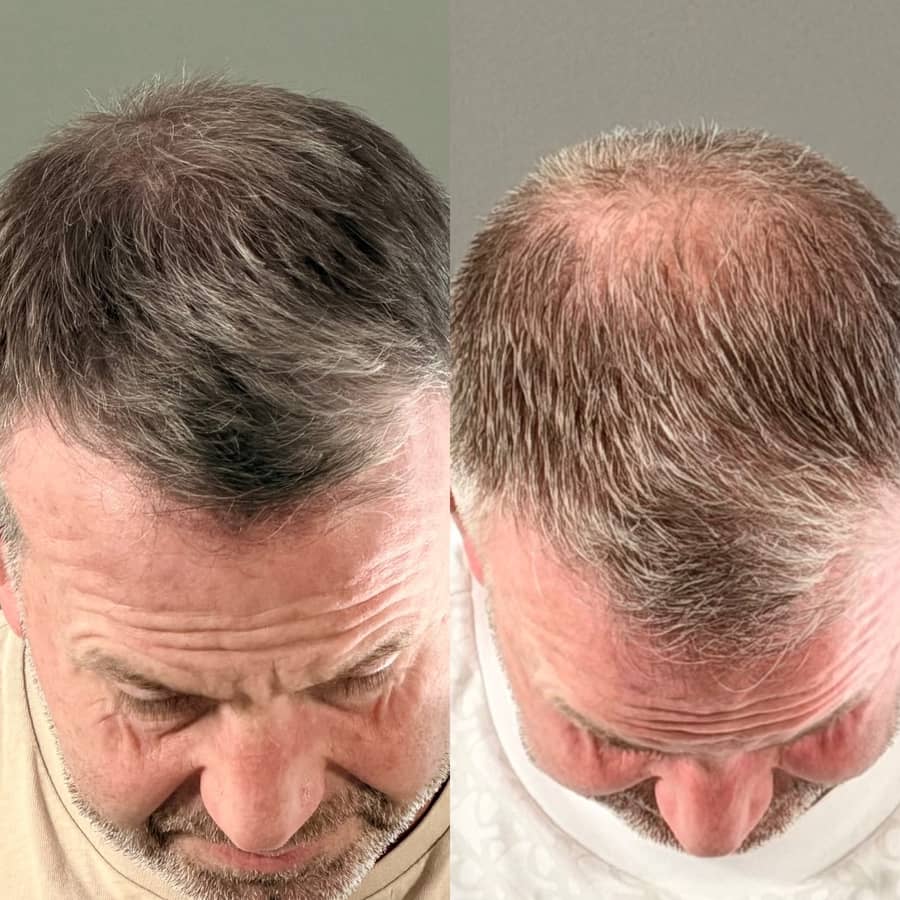
Before → AfterCrown on greying hair: pigment blends with existing hair to soften the look of a thinning crown, on a male client.
Before → AfterDiffuse thinning: shading across the top of the scalp makes a thinning area read as fuller, more even coverage, on a male client.
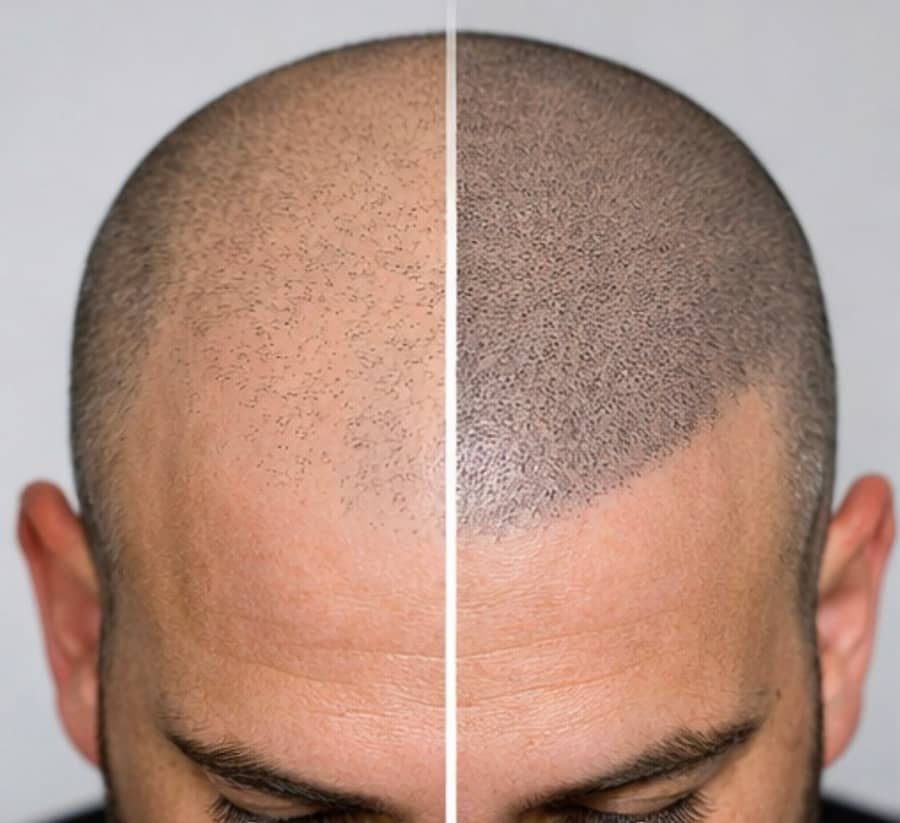
Before → AfterHairline detail: a close look at pigment filling gaps along the hairline and temple so the edge reads sharper and denser, on a male client.
Before → AfterFrontal density on greying hair: pigment recreates the look of a fuller hairline and front, on a male client.
Before → AfterFull-scalp restoration: even shading rebuilds density across a bald top with a soft, natural-looking hairline, on a male client.
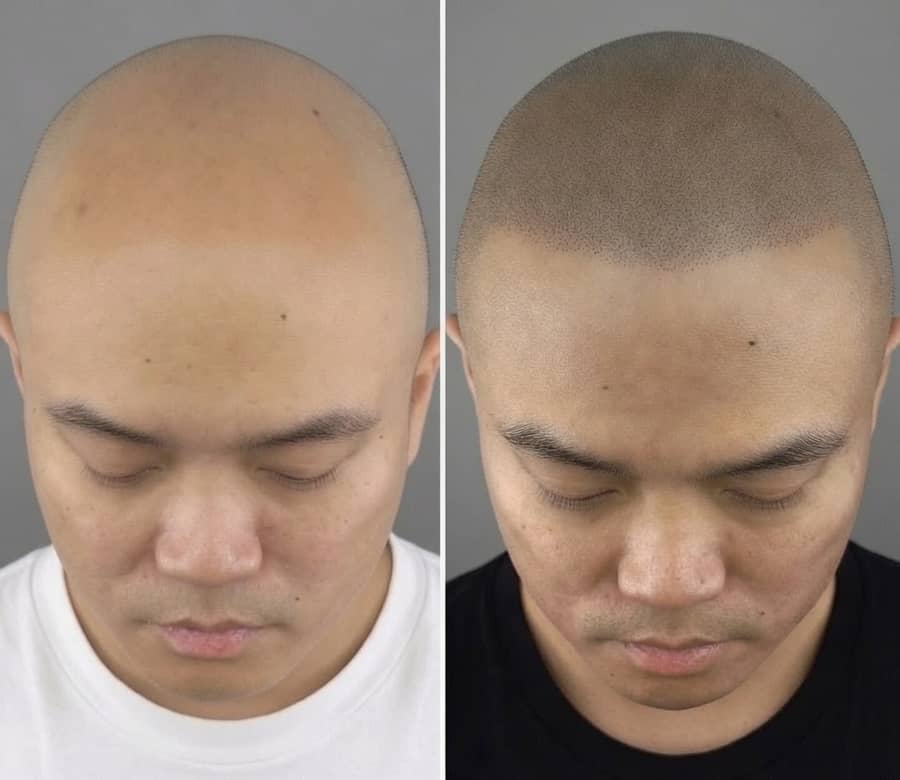
Before → AfterFull-scalp restoration: pigment recreates the look of closely-shaved hair with a crisp, defined front hairline, on a male client.
Every photo on this page is a genuine client, treated personally by Stephen Kennedy at the Haverhill studio, and shown with consent. Nothing here is a stock image or a digital mock-up. That matters, because the honest way to judge any SMP studio is by the work it has actually done on real scalps, in real lighting, rather than by polished marketing shots.
When you look through a before and after, it helps to know what to look for. The first thing is the hairline: a natural result follows a soft, slightly irregular edge that suits the person's face and age, rather than a hard, straight line. The second is density and contrast: good SMP reduces the gap between hair and scalp so a thinning area reads as fuller and more even, without looking like a solid block of colour. The third is the skin-tone match: the pigment shade should sit believably against that person's skin and hair, neither too dark nor too cool in tone. You will see all three at work across the examples above.
It is worth remembering that no two scalps are the same. Skin type, the pattern and stage of hair loss, hair colour and how the skin heals all shape the finish, so these images show what is possible rather than a promise of the same outcome for everyone, and individual results vary. SMP recreates the appearance of hair density or a closely-shaved hairline; it does not grow or regrow hair. If you would like a fuller walk-through of how a result is built, read our guide to before and after scalp micropigmentation, or look at what each treatment involves on our full SMP and density SMP pages.
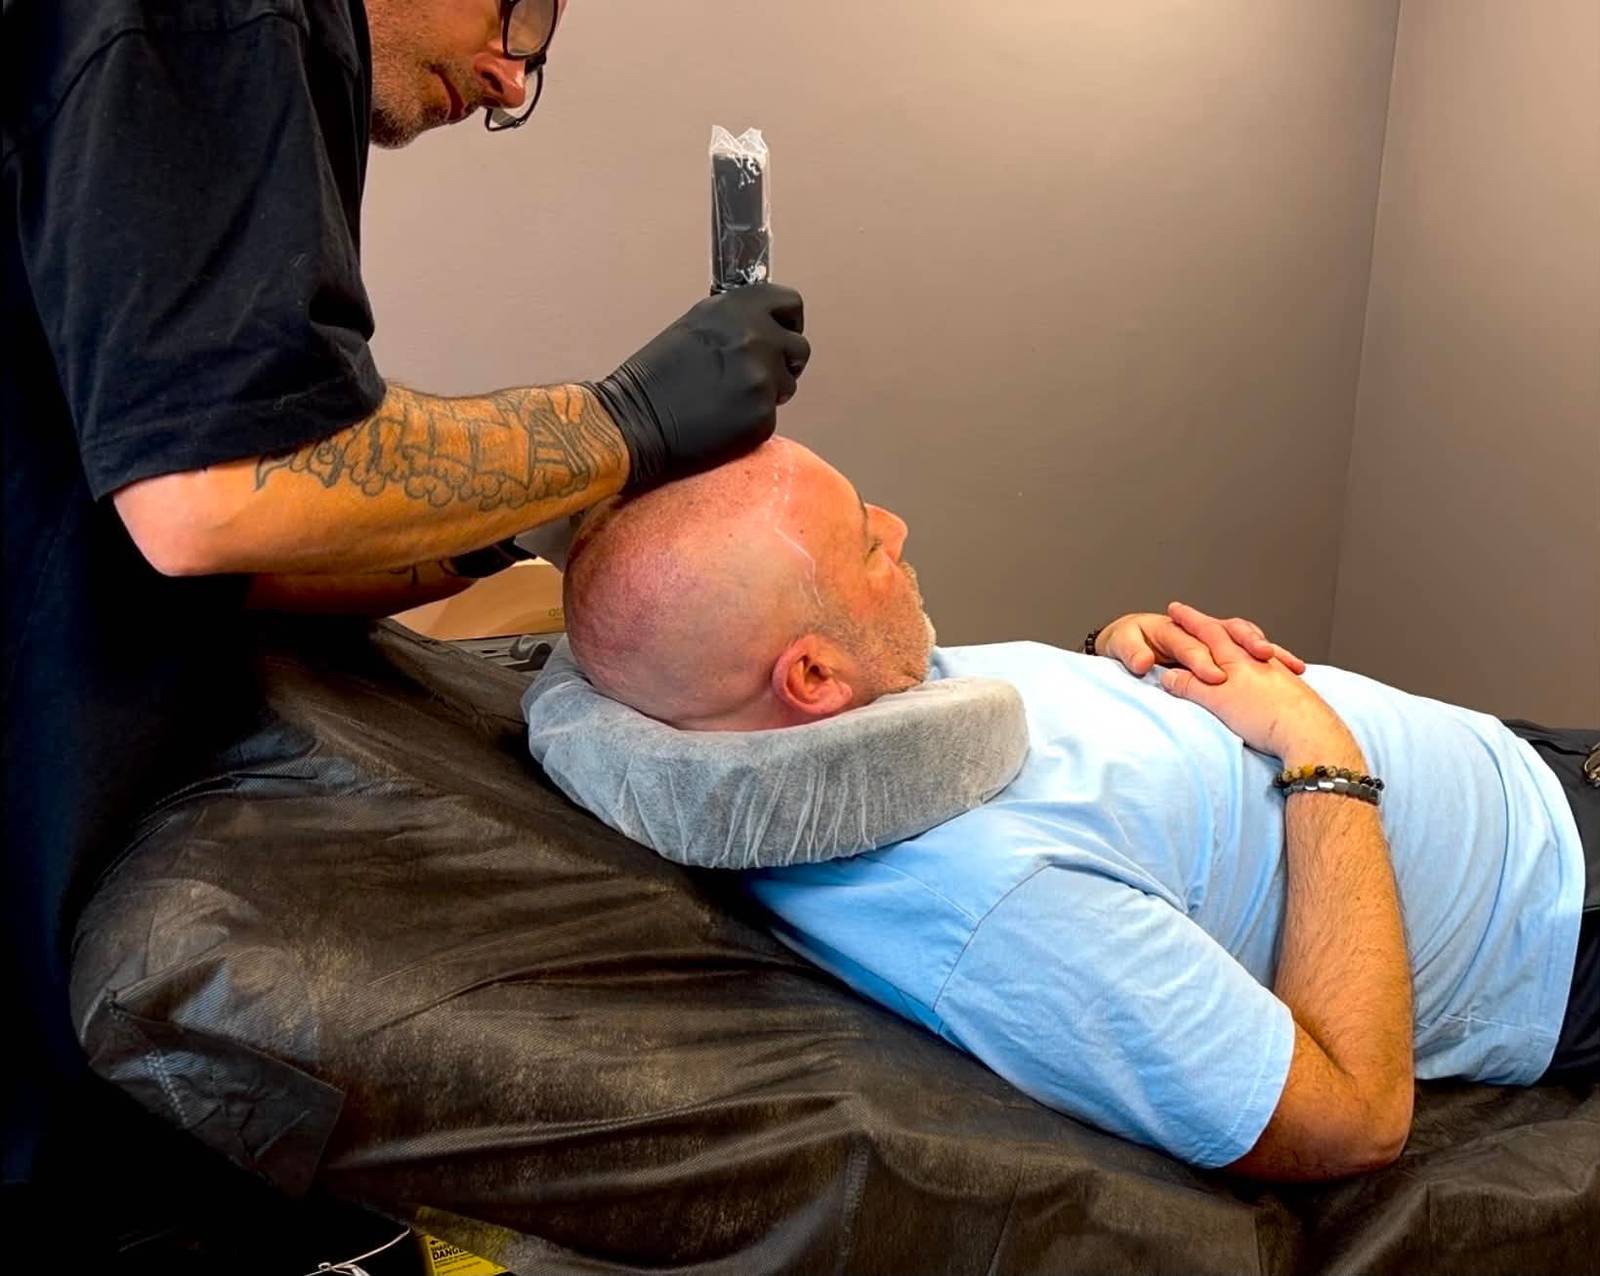
Inside the studio
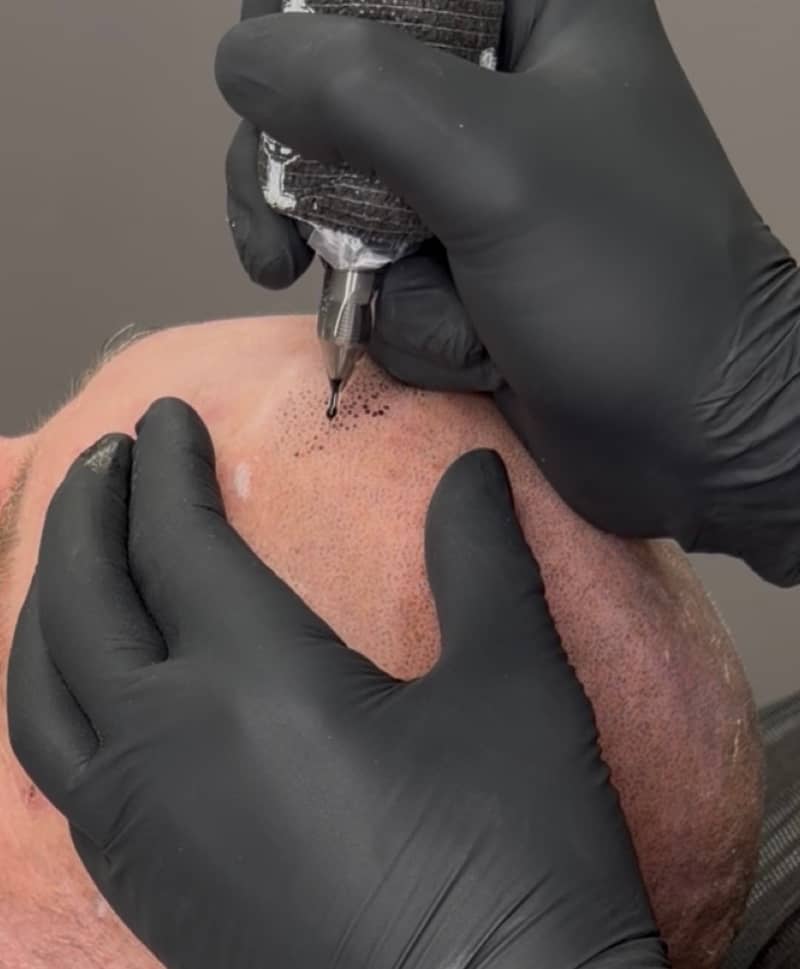
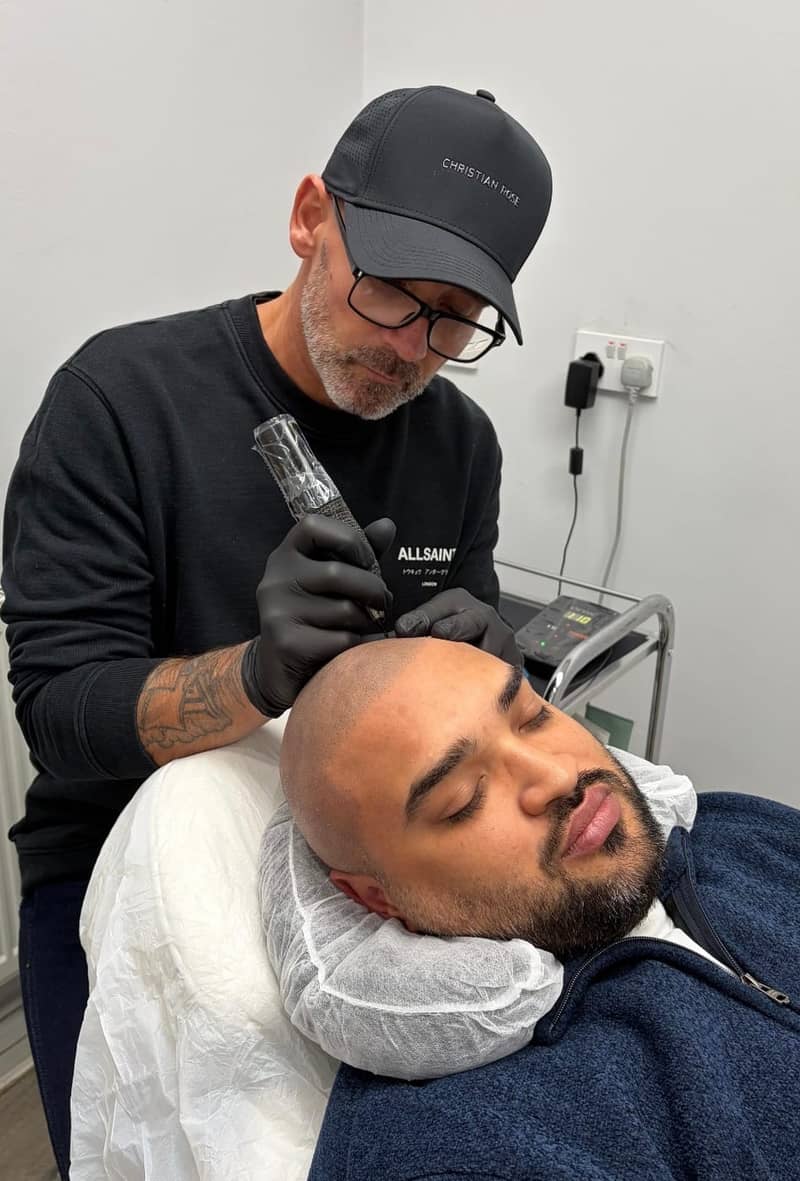
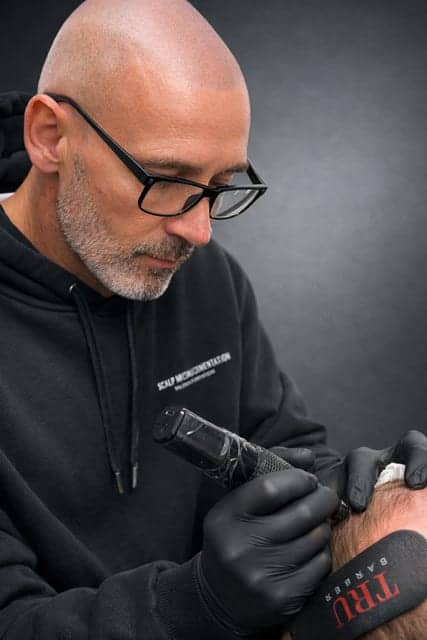
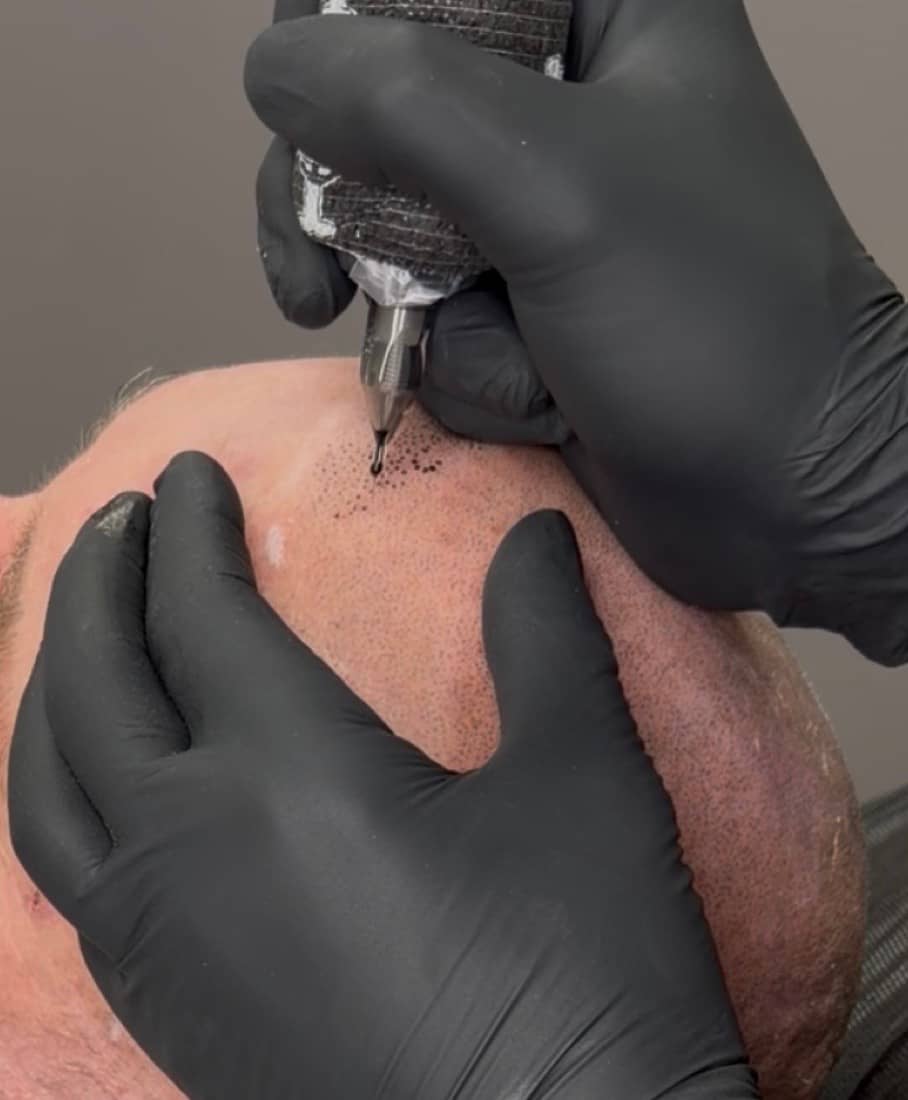
Every result starts with a free consultation and is built carefully, in person, across a planned course of sessions. These shots show the work as it actually happens.
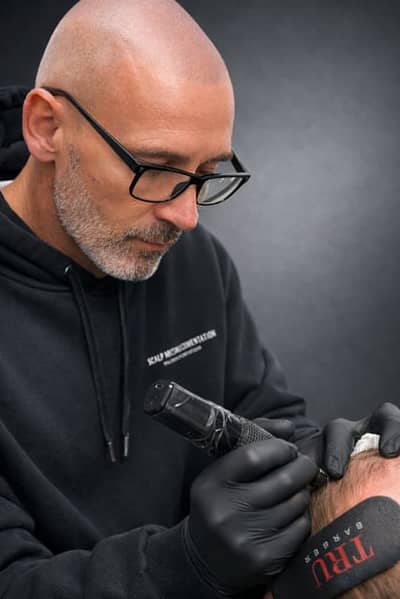
Every treatment is carried out in person by Stephen - one impression at a time.
Close-up of pigment being applied - each deposit is matched to the scalp around it.
A relaxed session at the Haverhill studio - the look is built gradually across planned sittings.
Want to know what's realistic for your scalp? Read about how SMP works, see our treatments and prices, and we'll talk it through properly.